How to Paint a Court: Tennis, Pickleball & Basketball
Have you ever wanted to paint your own tennis, pickleball, or basketball court? Maybe you're looking to add court painting as a service within your existing company, or simply want to repair and refresh a court of your own.
This guide walks through the basic steps involved in painting a sport court so you can understand the process and achieve professional results. When you're ready, our team is also here to help guide best practices, assist with material calculations, and supply the products needed to complete your project.
This guide provides a general overview of the court painting process. While often referred to as “painting,” the correct method involves installing an acrylic coating system. Factors such as surface type, condition, weather, and preparation can affect installation methods.
Do It Yourself Tips From The Pros
Before You Start
Helpful tips before you begin painting your court
Understand Your Layout
Most of the important measuring and layout work is done before any paint hits the surface. Many contractors will measure the court slightly smaller than the final game line dimensions, often about 1 inch inside the official layout.
This creates a small buffer—about 2 inches total—when the game lines are later installed, helping ensure the finished lines fall exactly where they should.
It’s also helpful to plan the order in which you paint the court. Working from the far end toward your exit point helps prevent stepping on wet coatings or blocking yourself into a corner while the material is still drying.
Equipment Locations
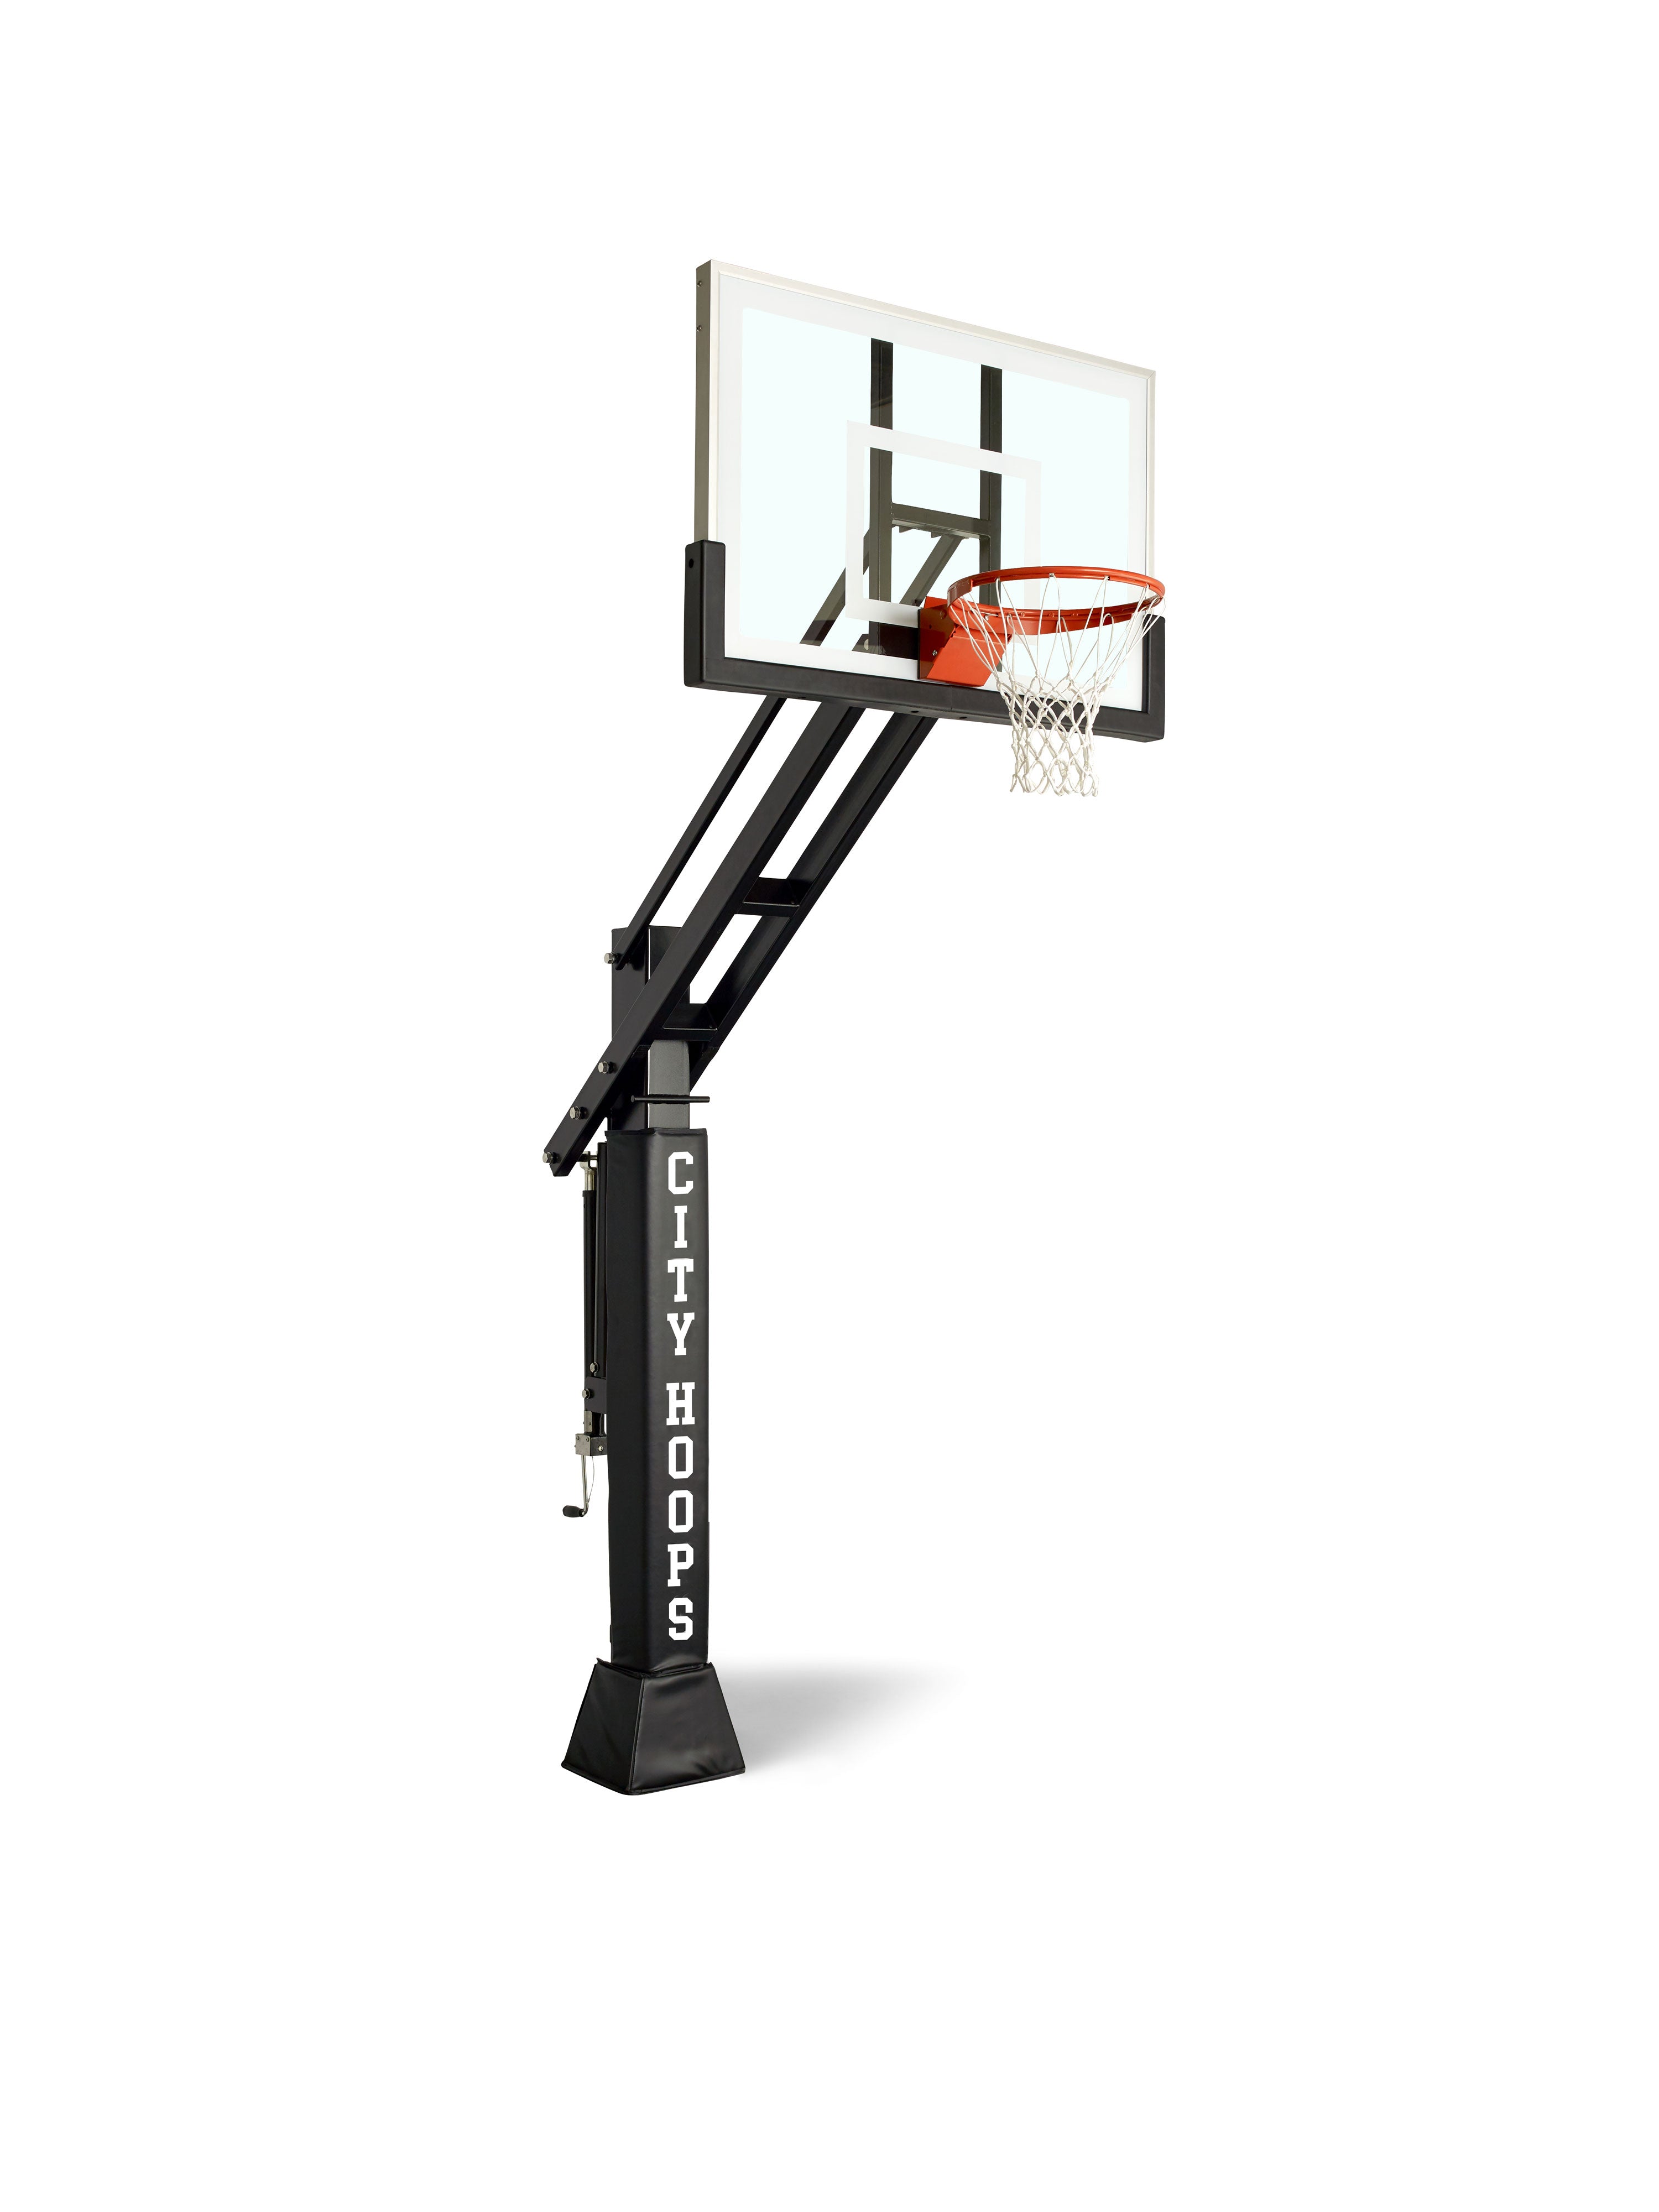
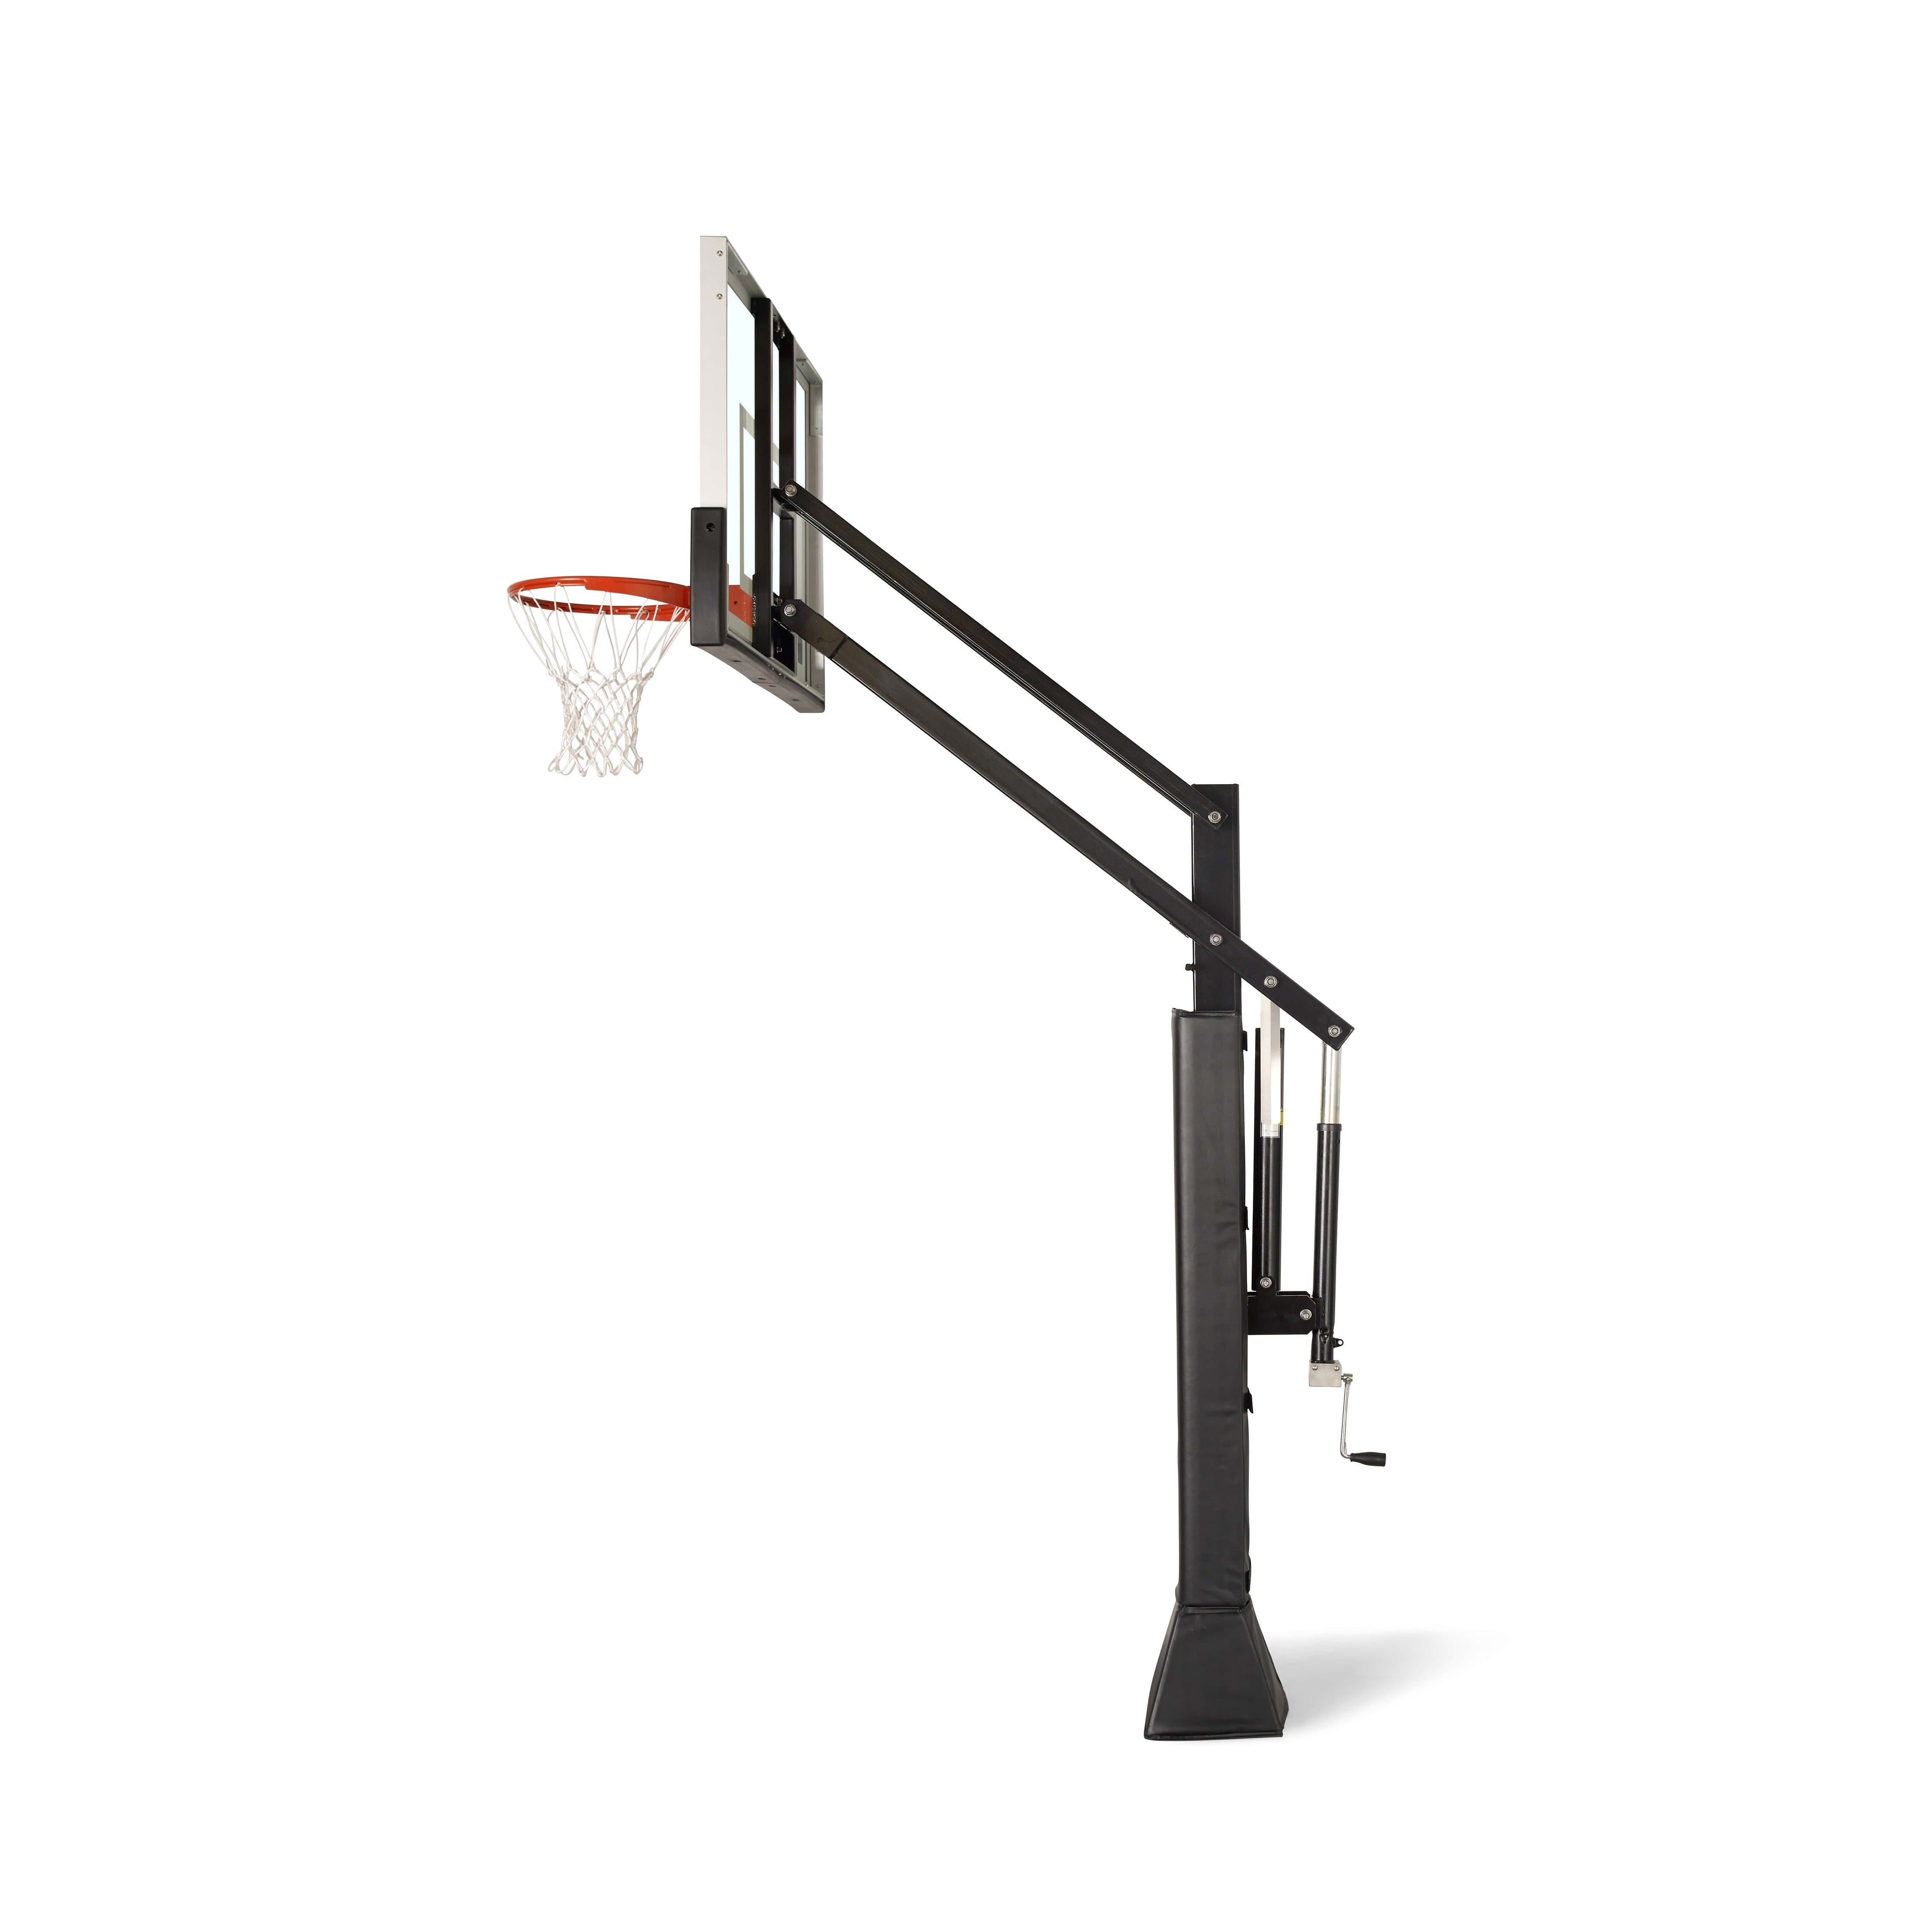
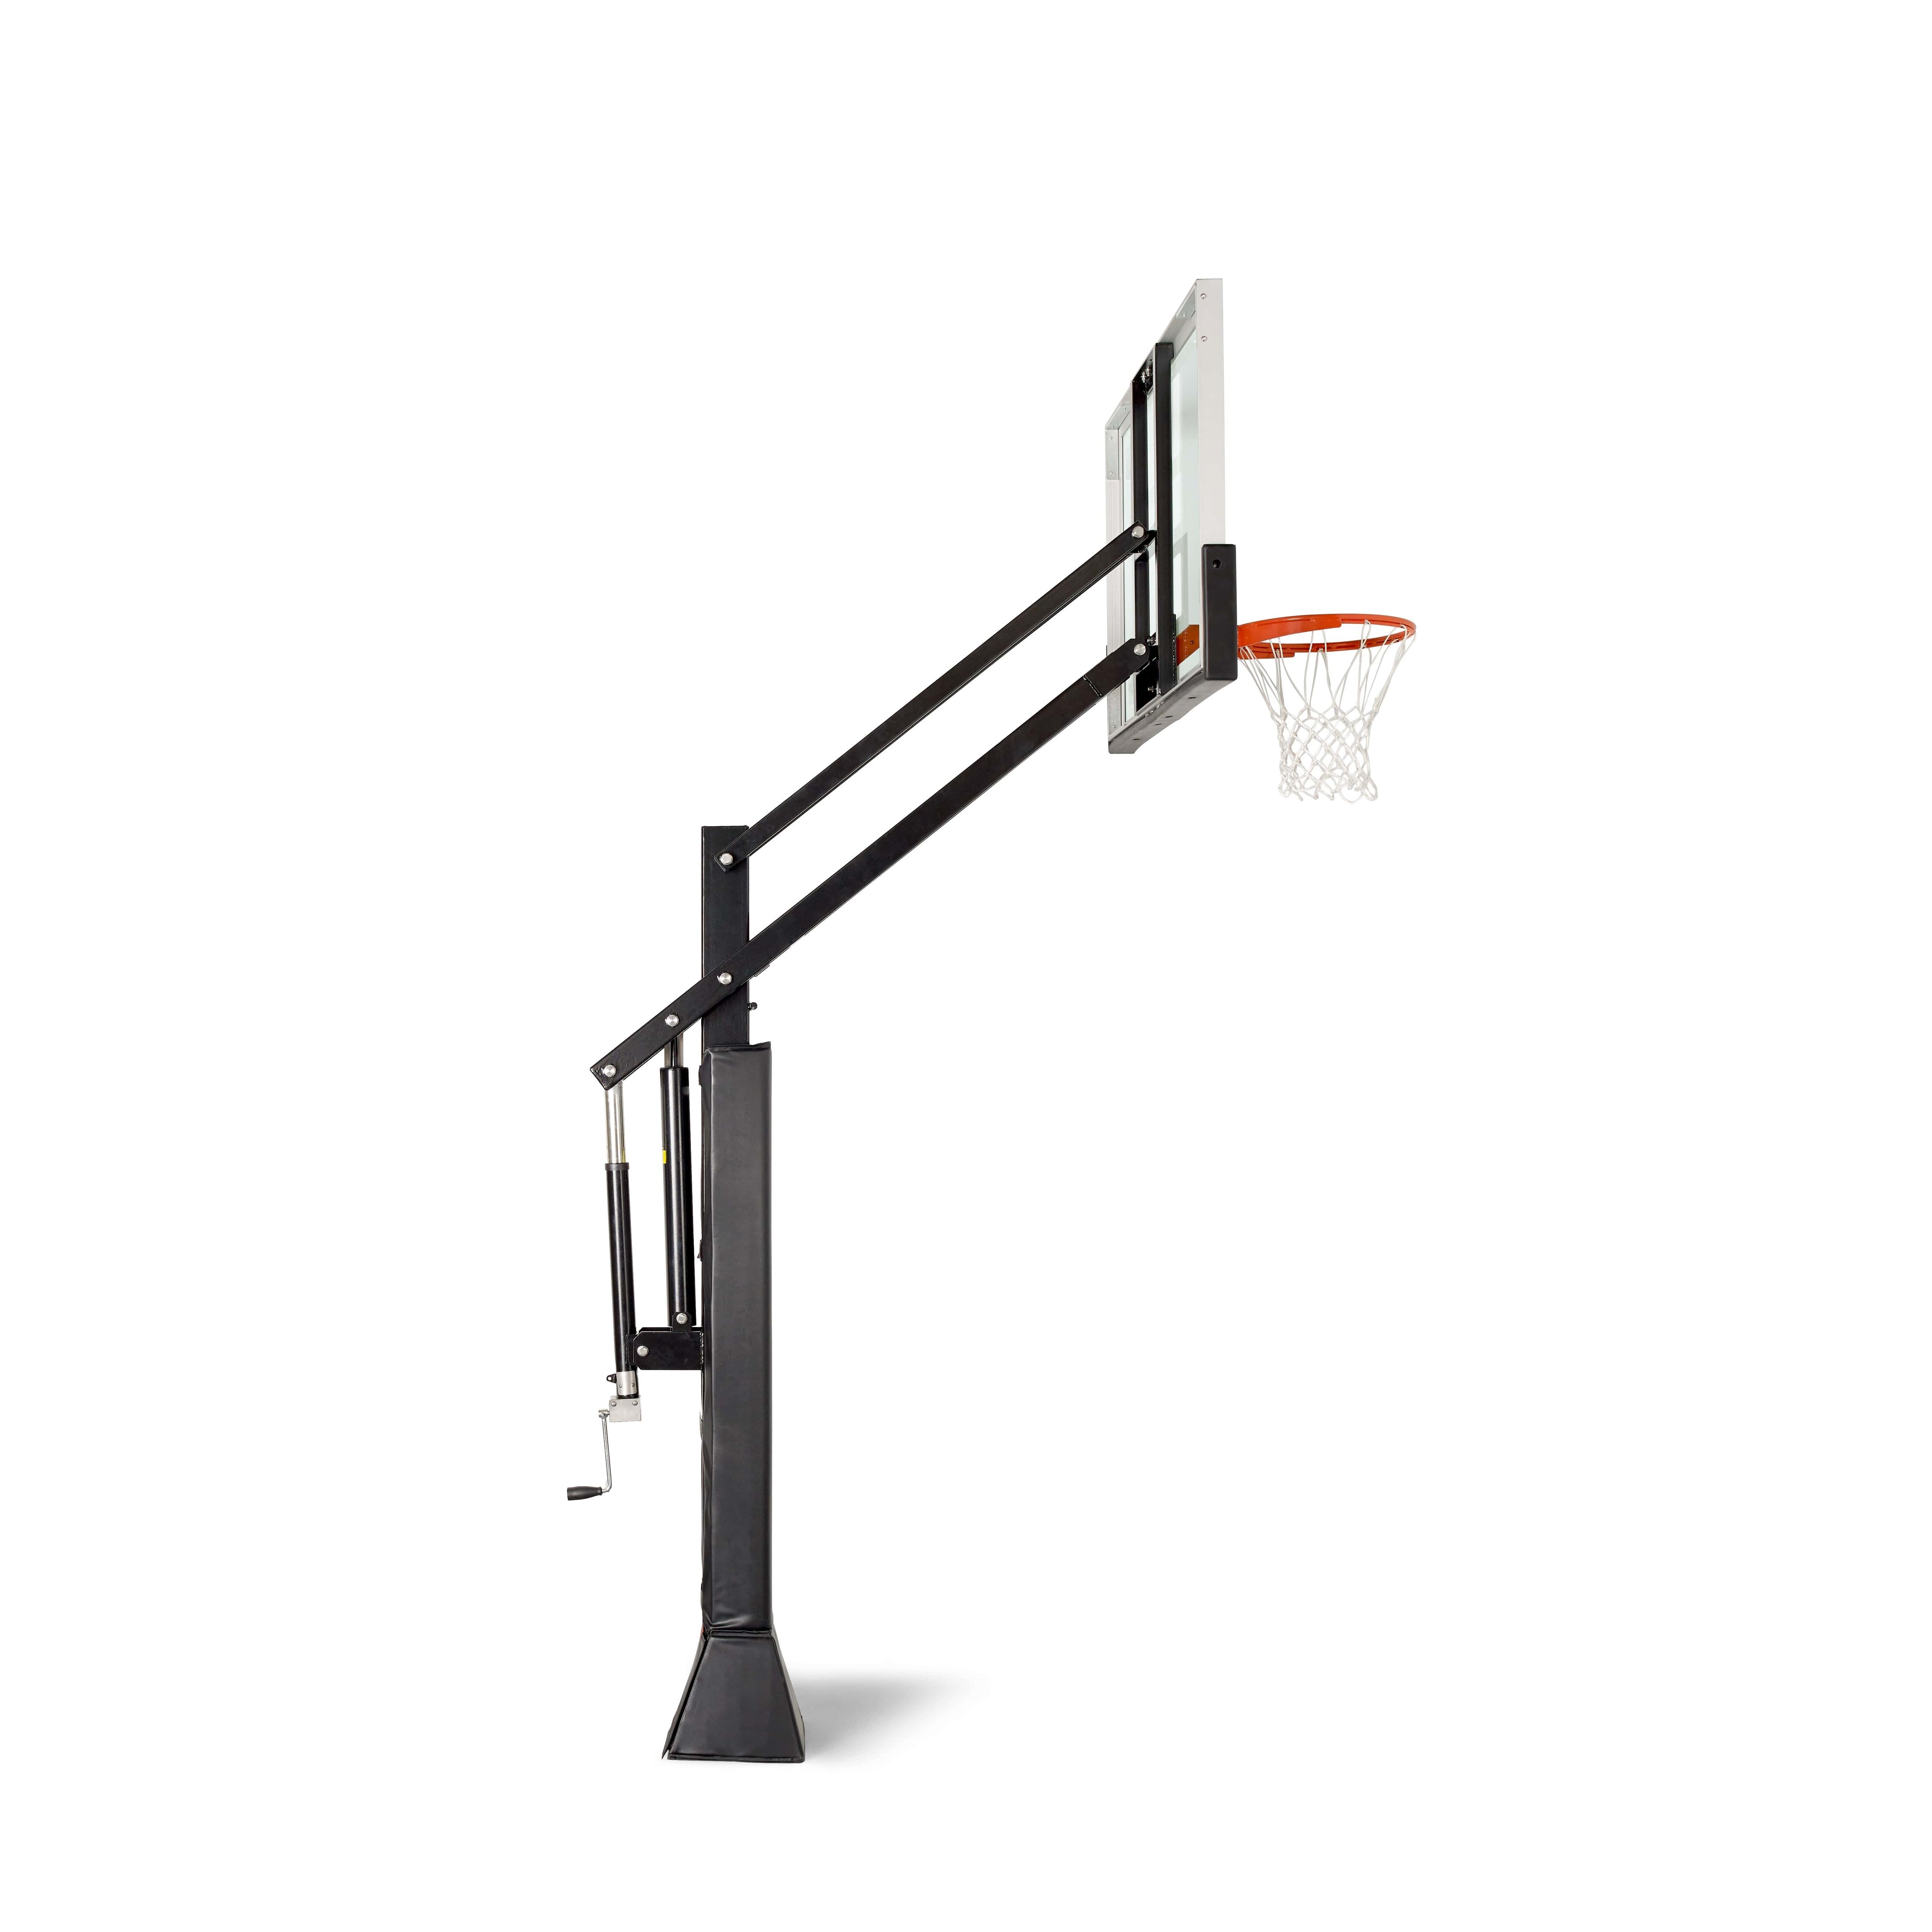
Many court layouts are influenced by the location of installed equipment, so it’s important to plan these positions before any painting begins. If installing in-ground equipment, such as basketball hoops or tennis posts, be sure to check for utility locates before digging new footings.
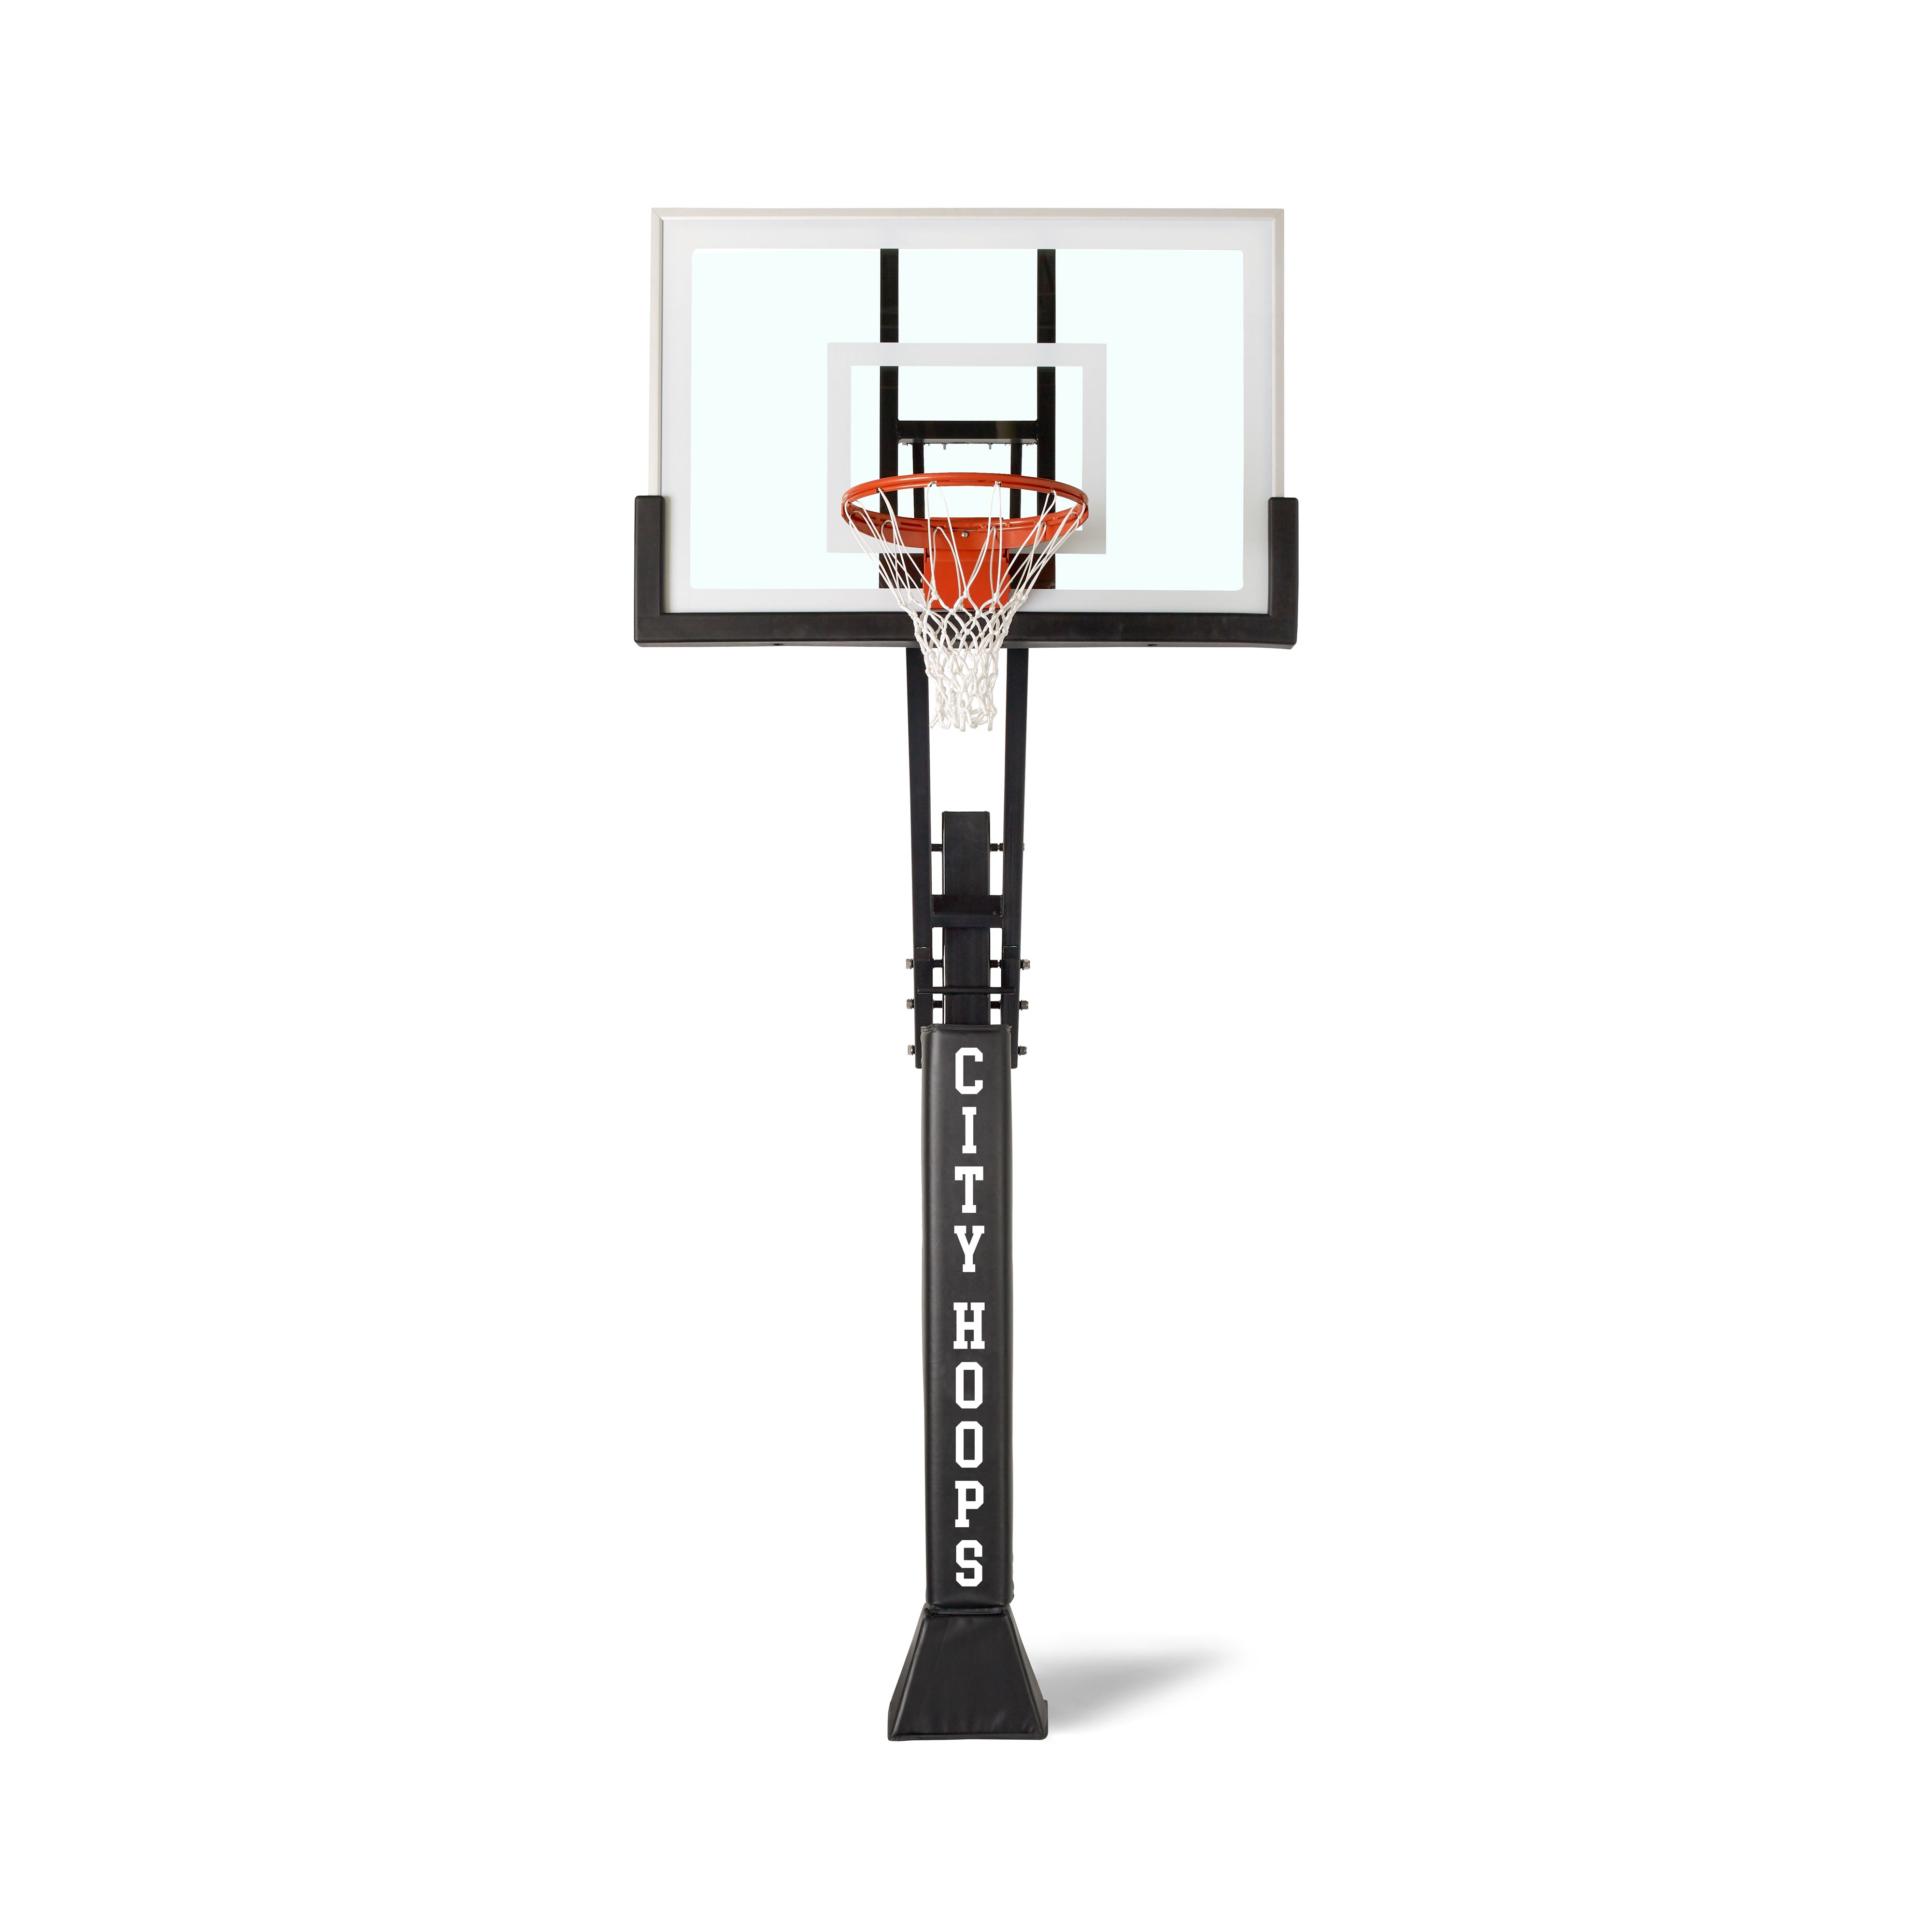
Certain court markings are also measured directly from equipment—for example, on a basketball court the free throw line and painted key are measured from the face of the backboard.
Knowing these reference points in advance allows you to mark off areas before coating the surface, making game line installation easier and reducing the need for touch-ups later.
Check Weather & Surface Conditions
Acrylic coatings should be applied under dry weather conditions with appropriate temperatures to ensure the materials cure properly. Rain, excessive moisture, or temperatures that are too low can slow drying times and affect how the coatings bond to the surface.
It’s also important that the court surface is completely clean and dry before applying any materials. Dirt, dust, or standing water can interfere with adhesion and lead to inconsistent results across the finished court surface.
When in doubt, don’t risk it. Always review the material specifications and manufacturer guidelines for recommended temperatures.
Wait, it's not just regular paint?
Understanding the Acrylic Coating System
It's built for play, not just appearance.
Acrylic court coatings are installed as a layered system designed for durability and consistent play. The process begins by preparing the base surface—whether it’s new asphalt or concrete, or an existing court requiring repair. Once the base is ready, an acrylic resurfacer is applied as the foundation layer, followed by the color coatings and finally the game lines that define the court.

Step 1
Preparing the Base
New and existing
Whether working with a new or existing asphalt or concrete surface, proper preparation is essential before applying any coatings. A common step is to flood the court with water to identify low areas where water collects, often called birdbaths, which should be repaired using a court patch mix made from acrylic cement binder, silica sand, and Portland cement.
Once repairs are complete and the surface is clean, 1–2 coats of acrylic resurfacer are applied to create a uniform base for the color coatings. In some cases, fiberglass reinforcement systems may also be considered to help reduce reflective cracking over time.


Step 2
Installing The Acrylic Colour Coating
UV stabilized top coats
Once the resurfacer has properly cured, the acrylic color coatings are applied to create the finished playing surface. These coatings are typically mixed with silica sand to provide texture and the proper traction for play. The material is spread across the court using specialized rubber squeegees, typically 2 coats, to achieve consistent color and surface coverage.


Step 3
Game lines & equipment
The final touches
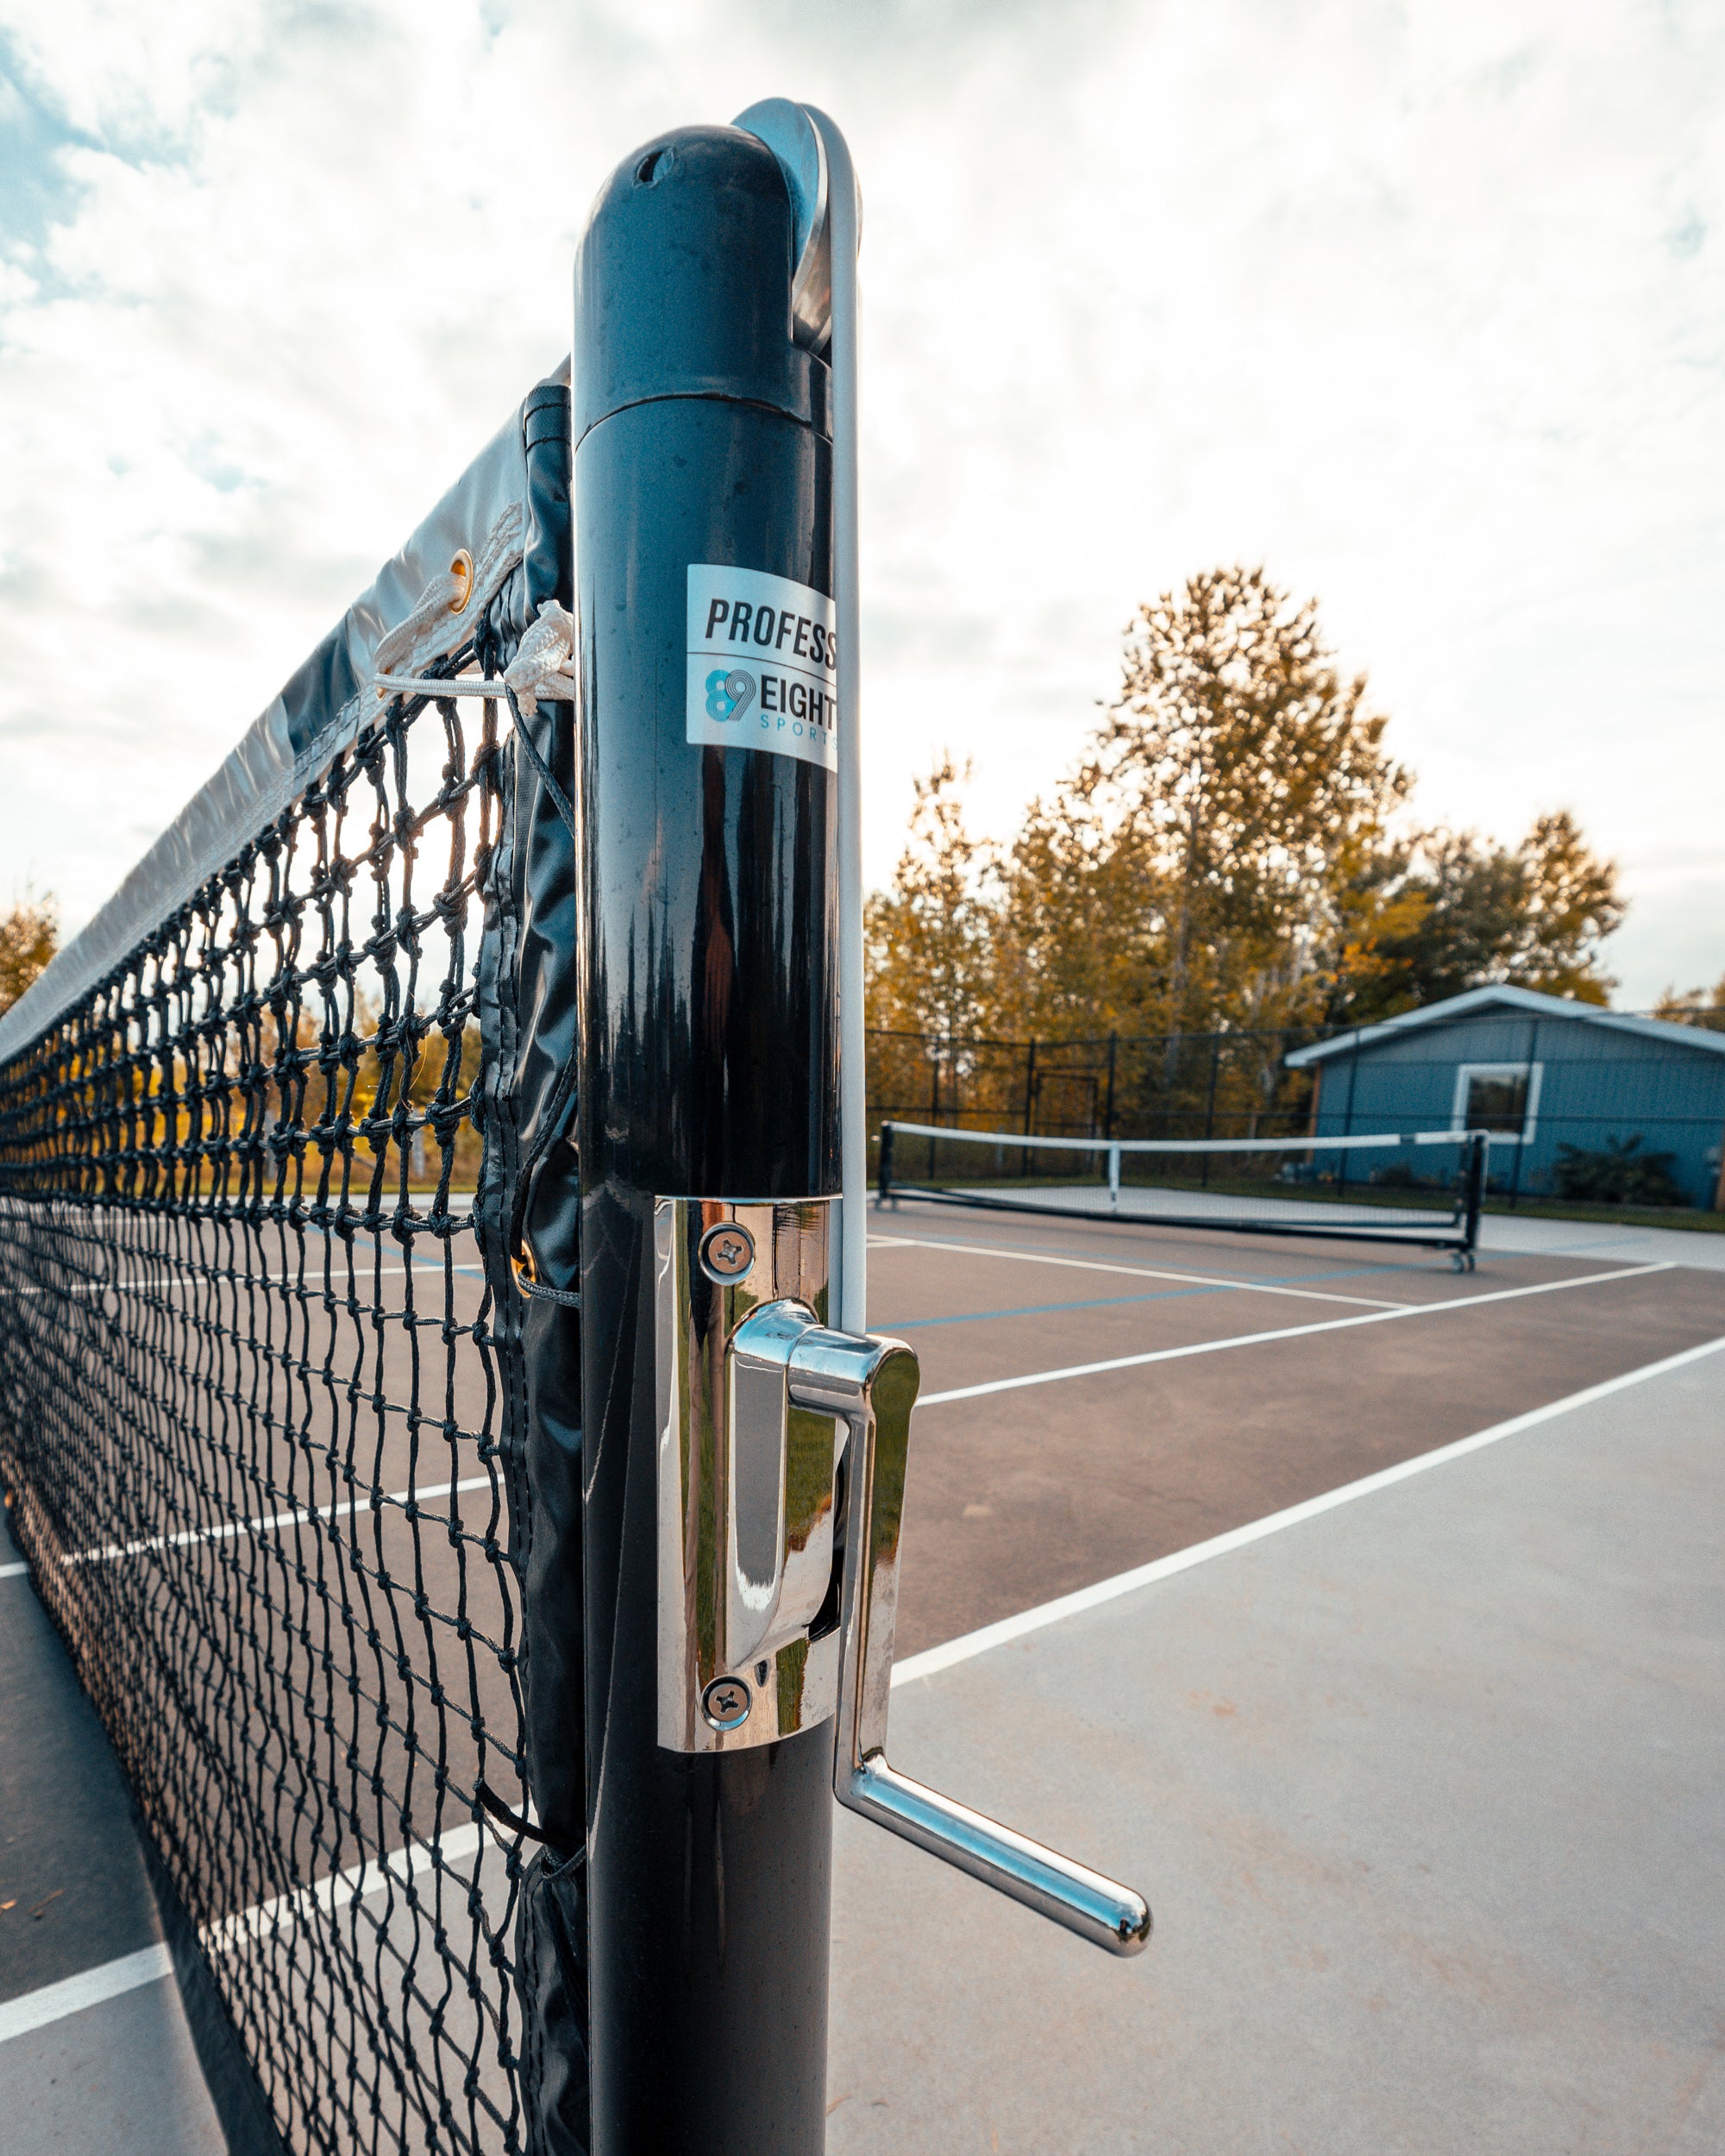
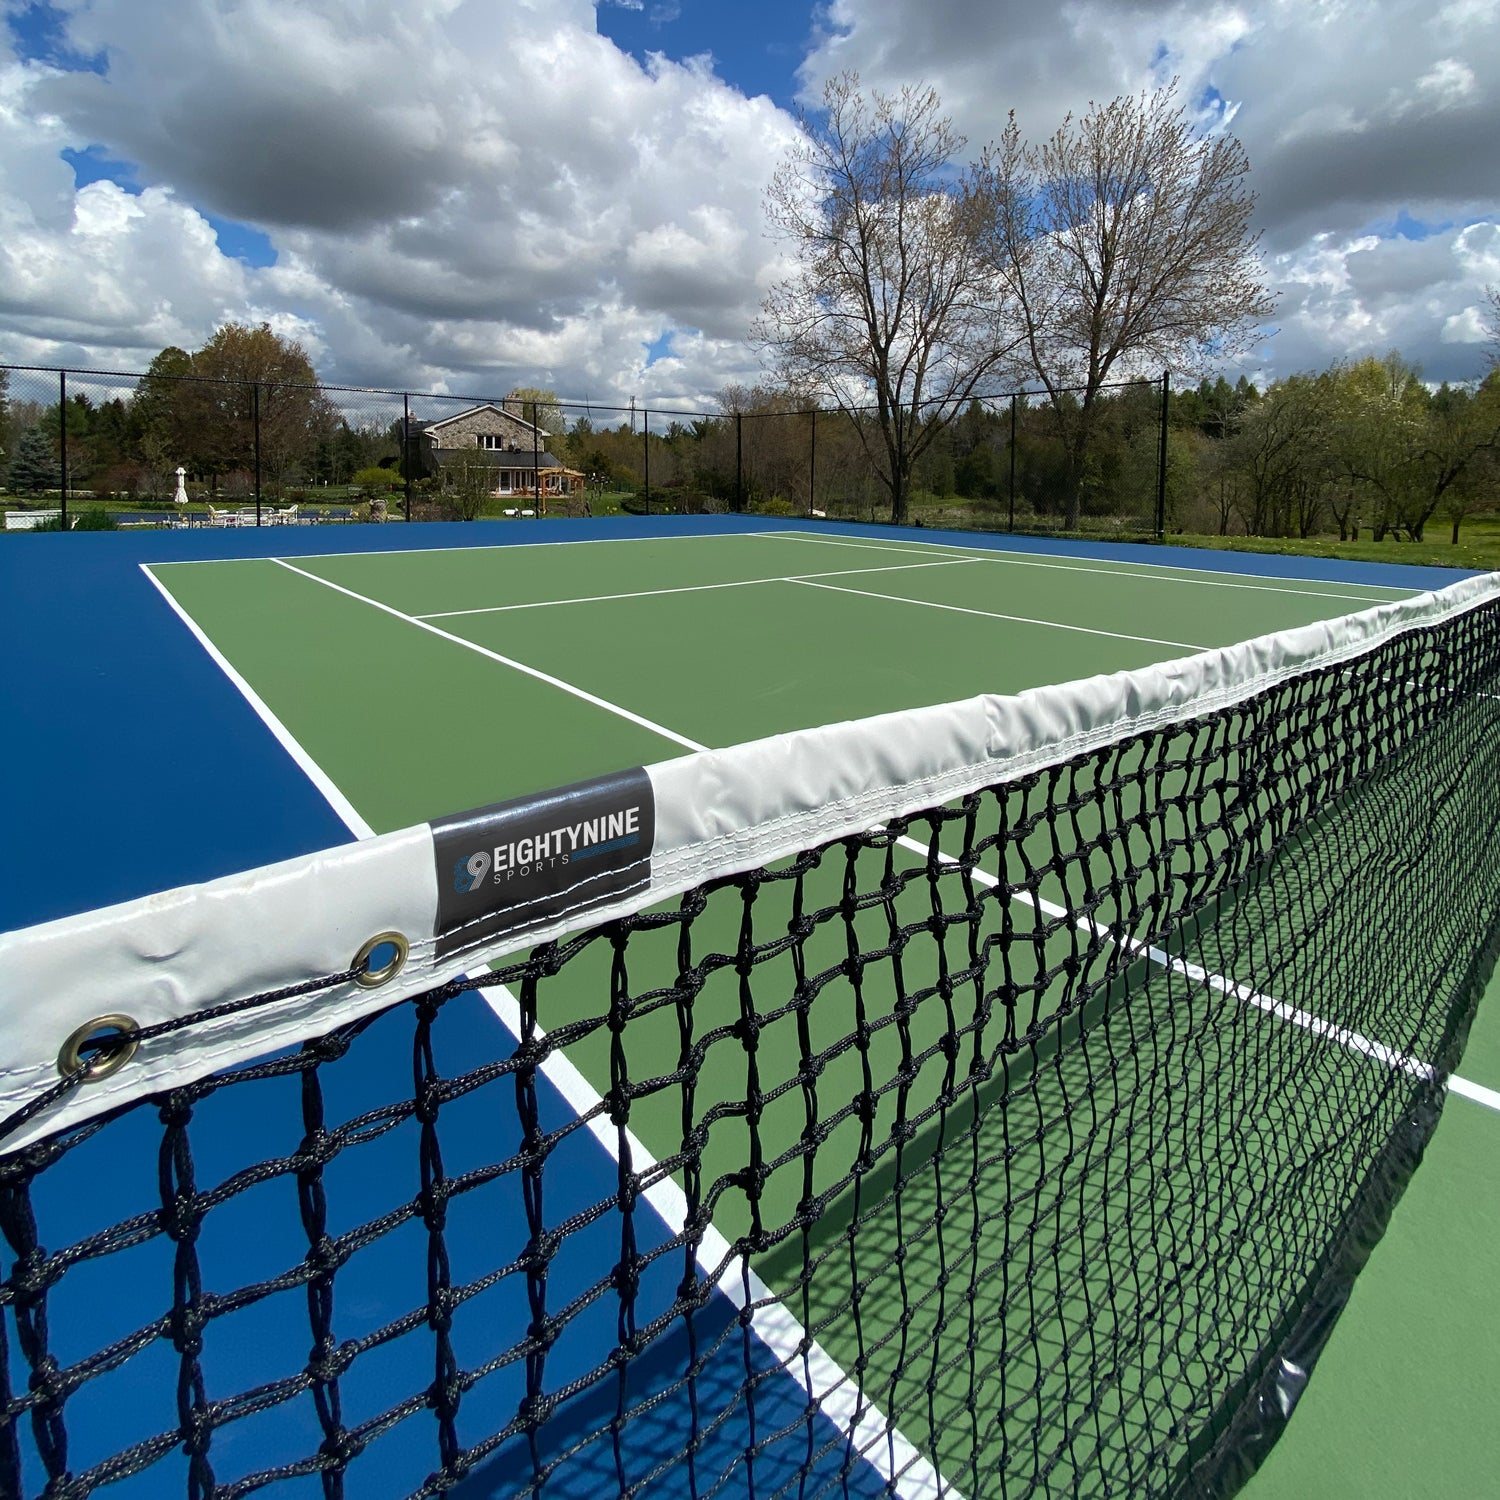
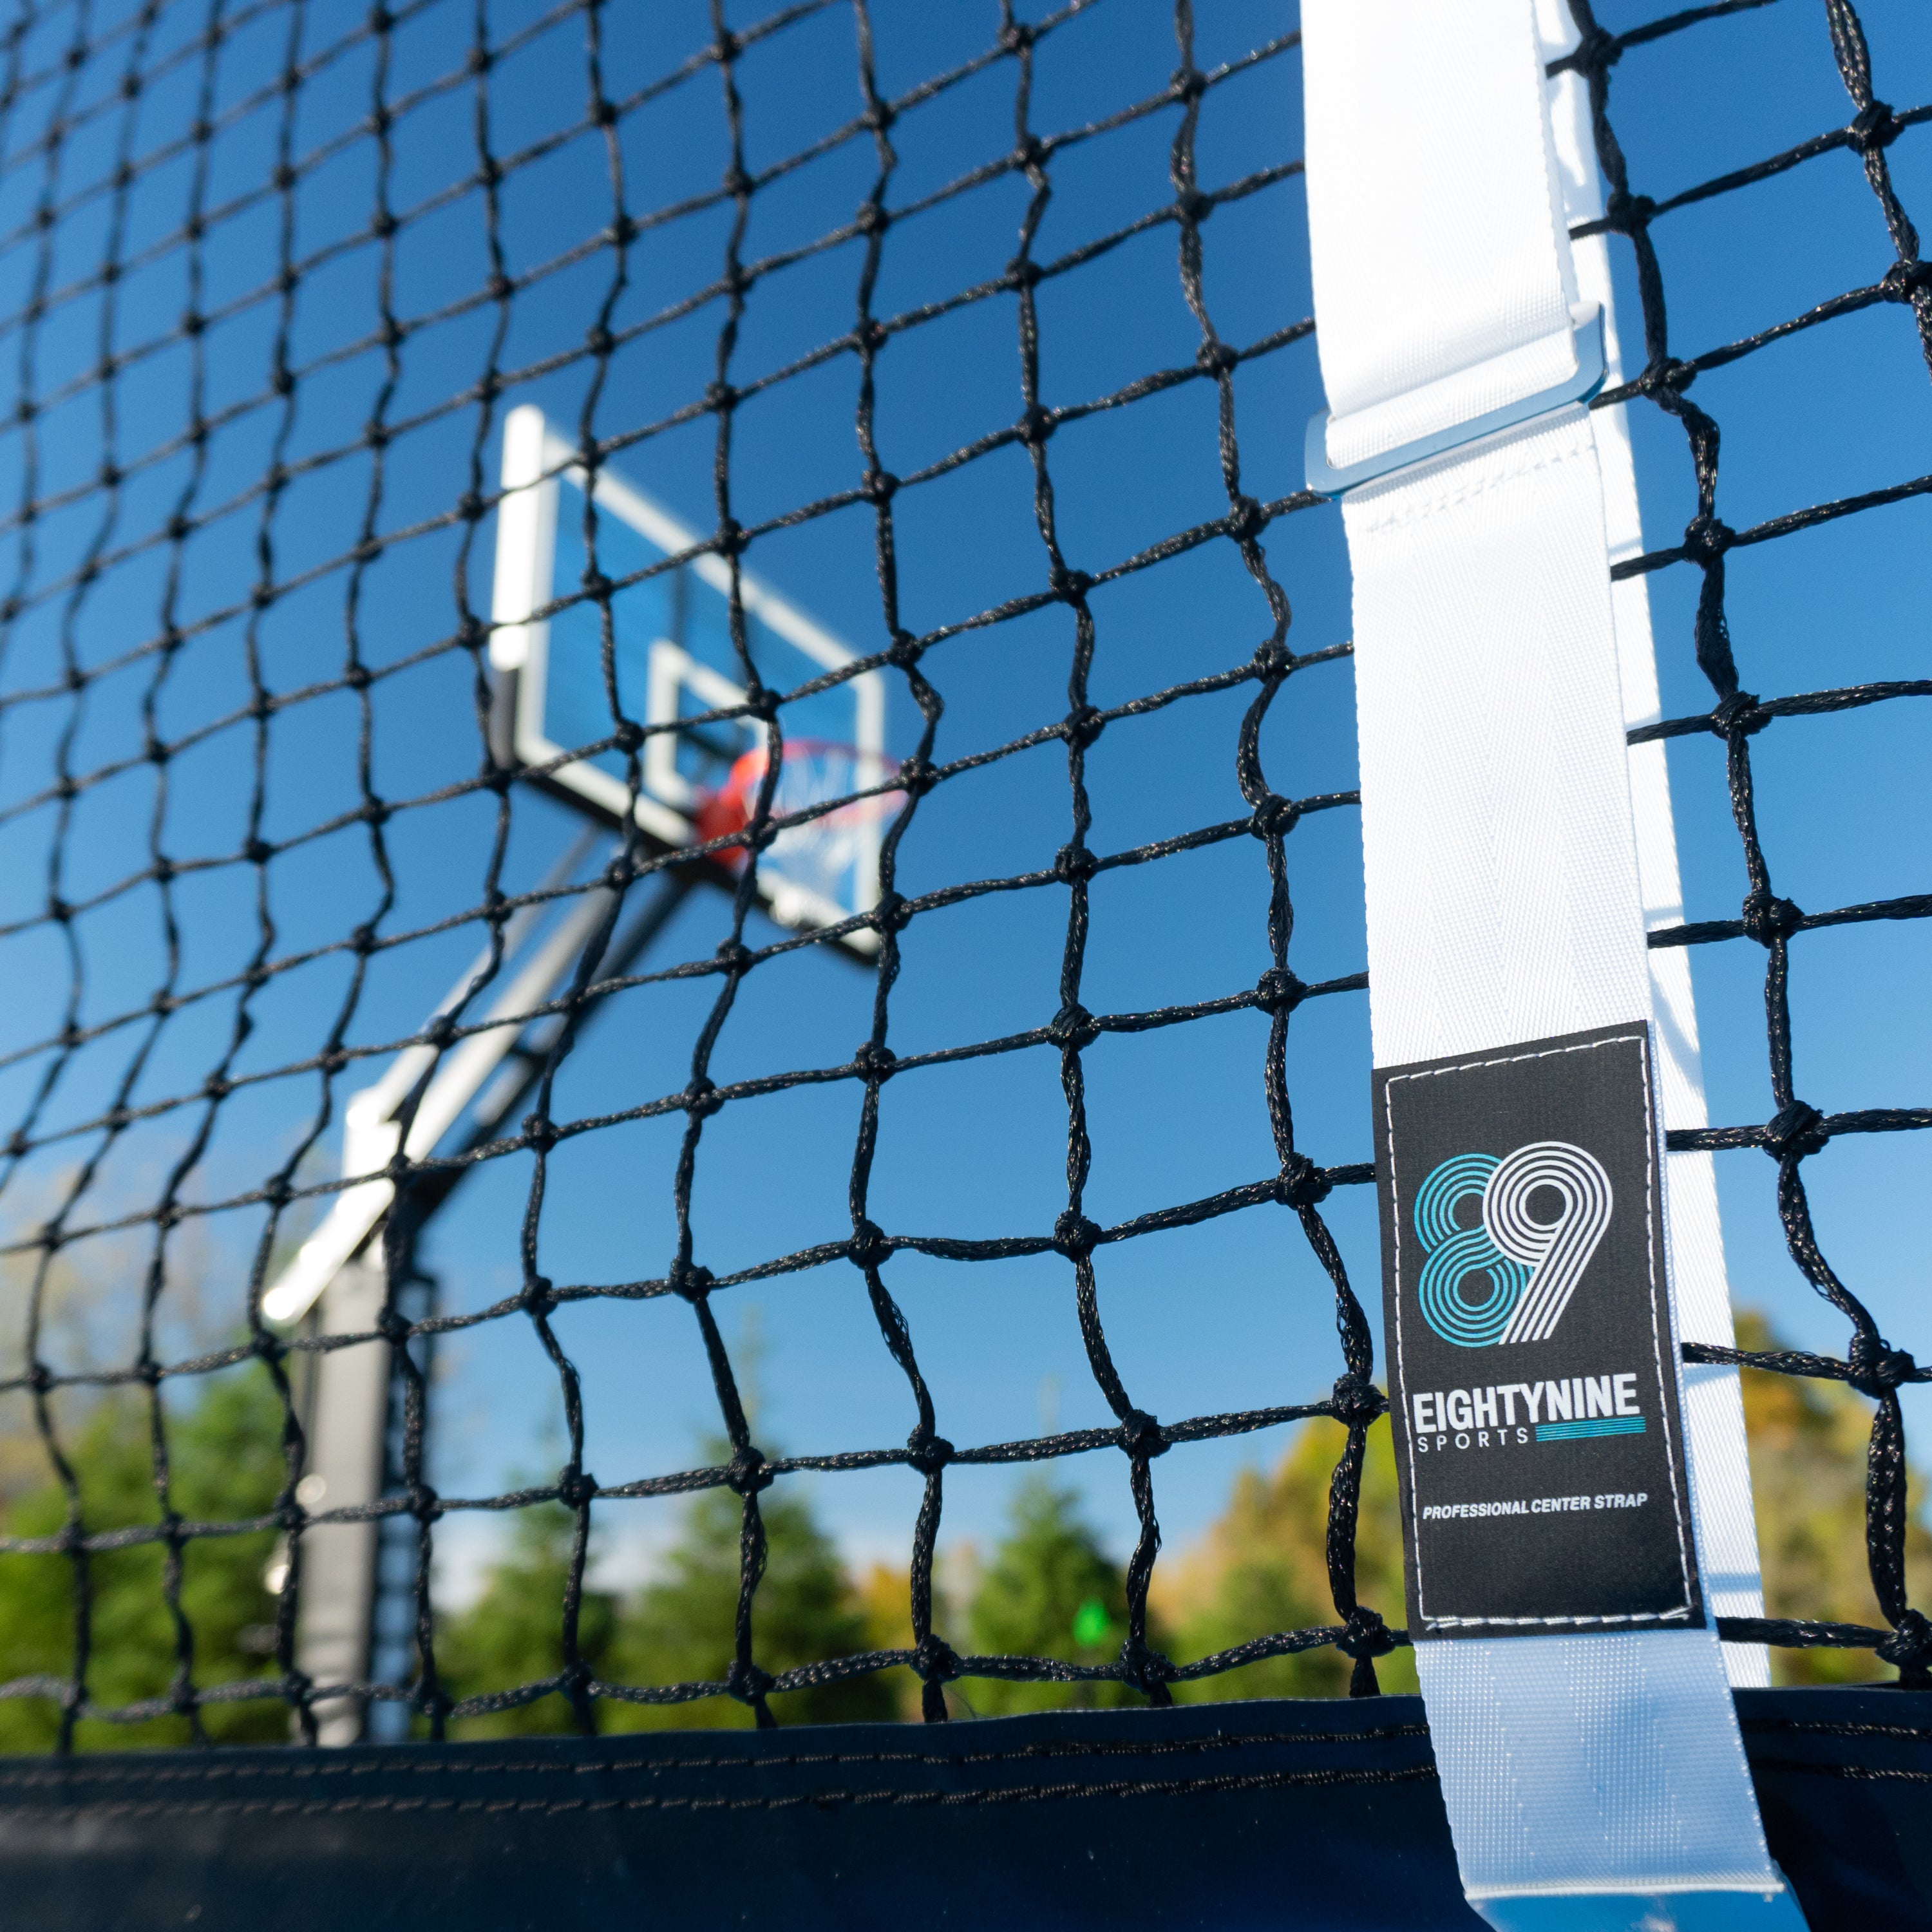
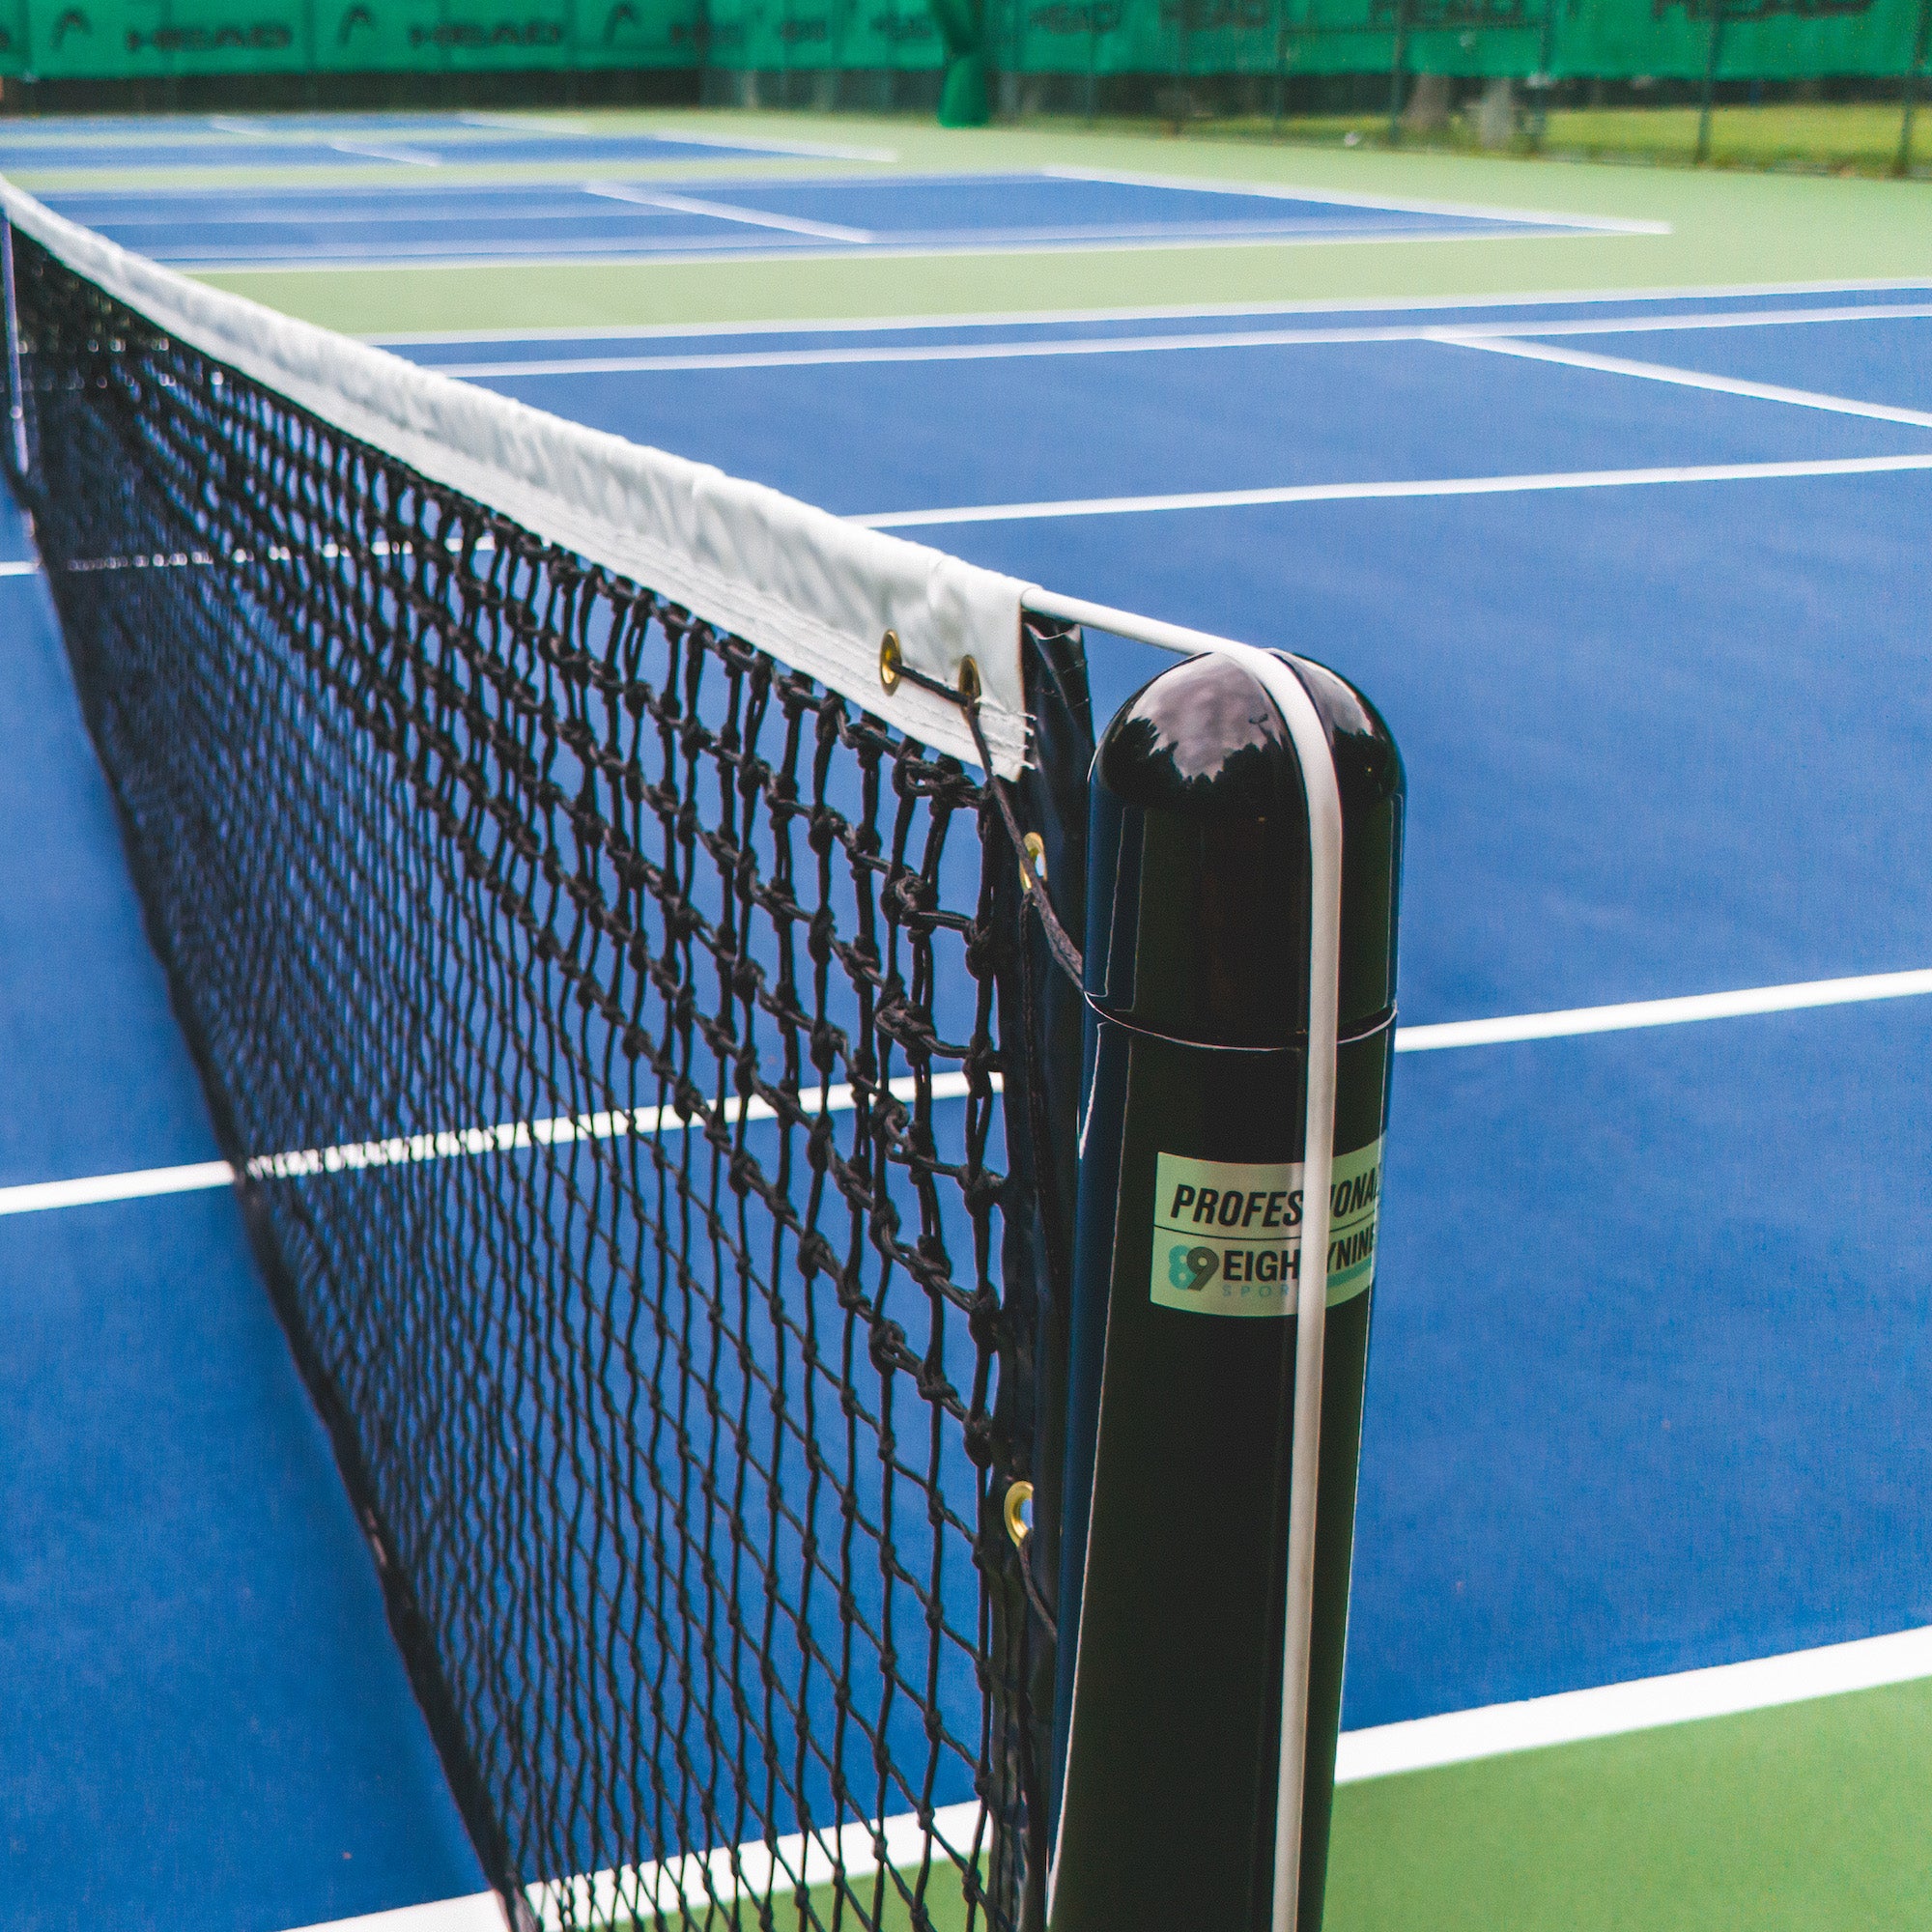
Once the color coatings have fully dried, the game lines can be laid out and painted. Court markings must follow the proper dimensions for the intended sport, whether tennis, pickleball, or basketball, so accurate measurement and careful taping are important before applying line paint. After the lines are completed, the final step is installing the accessories & equipment, such as nets, posts, or basketball hoops.


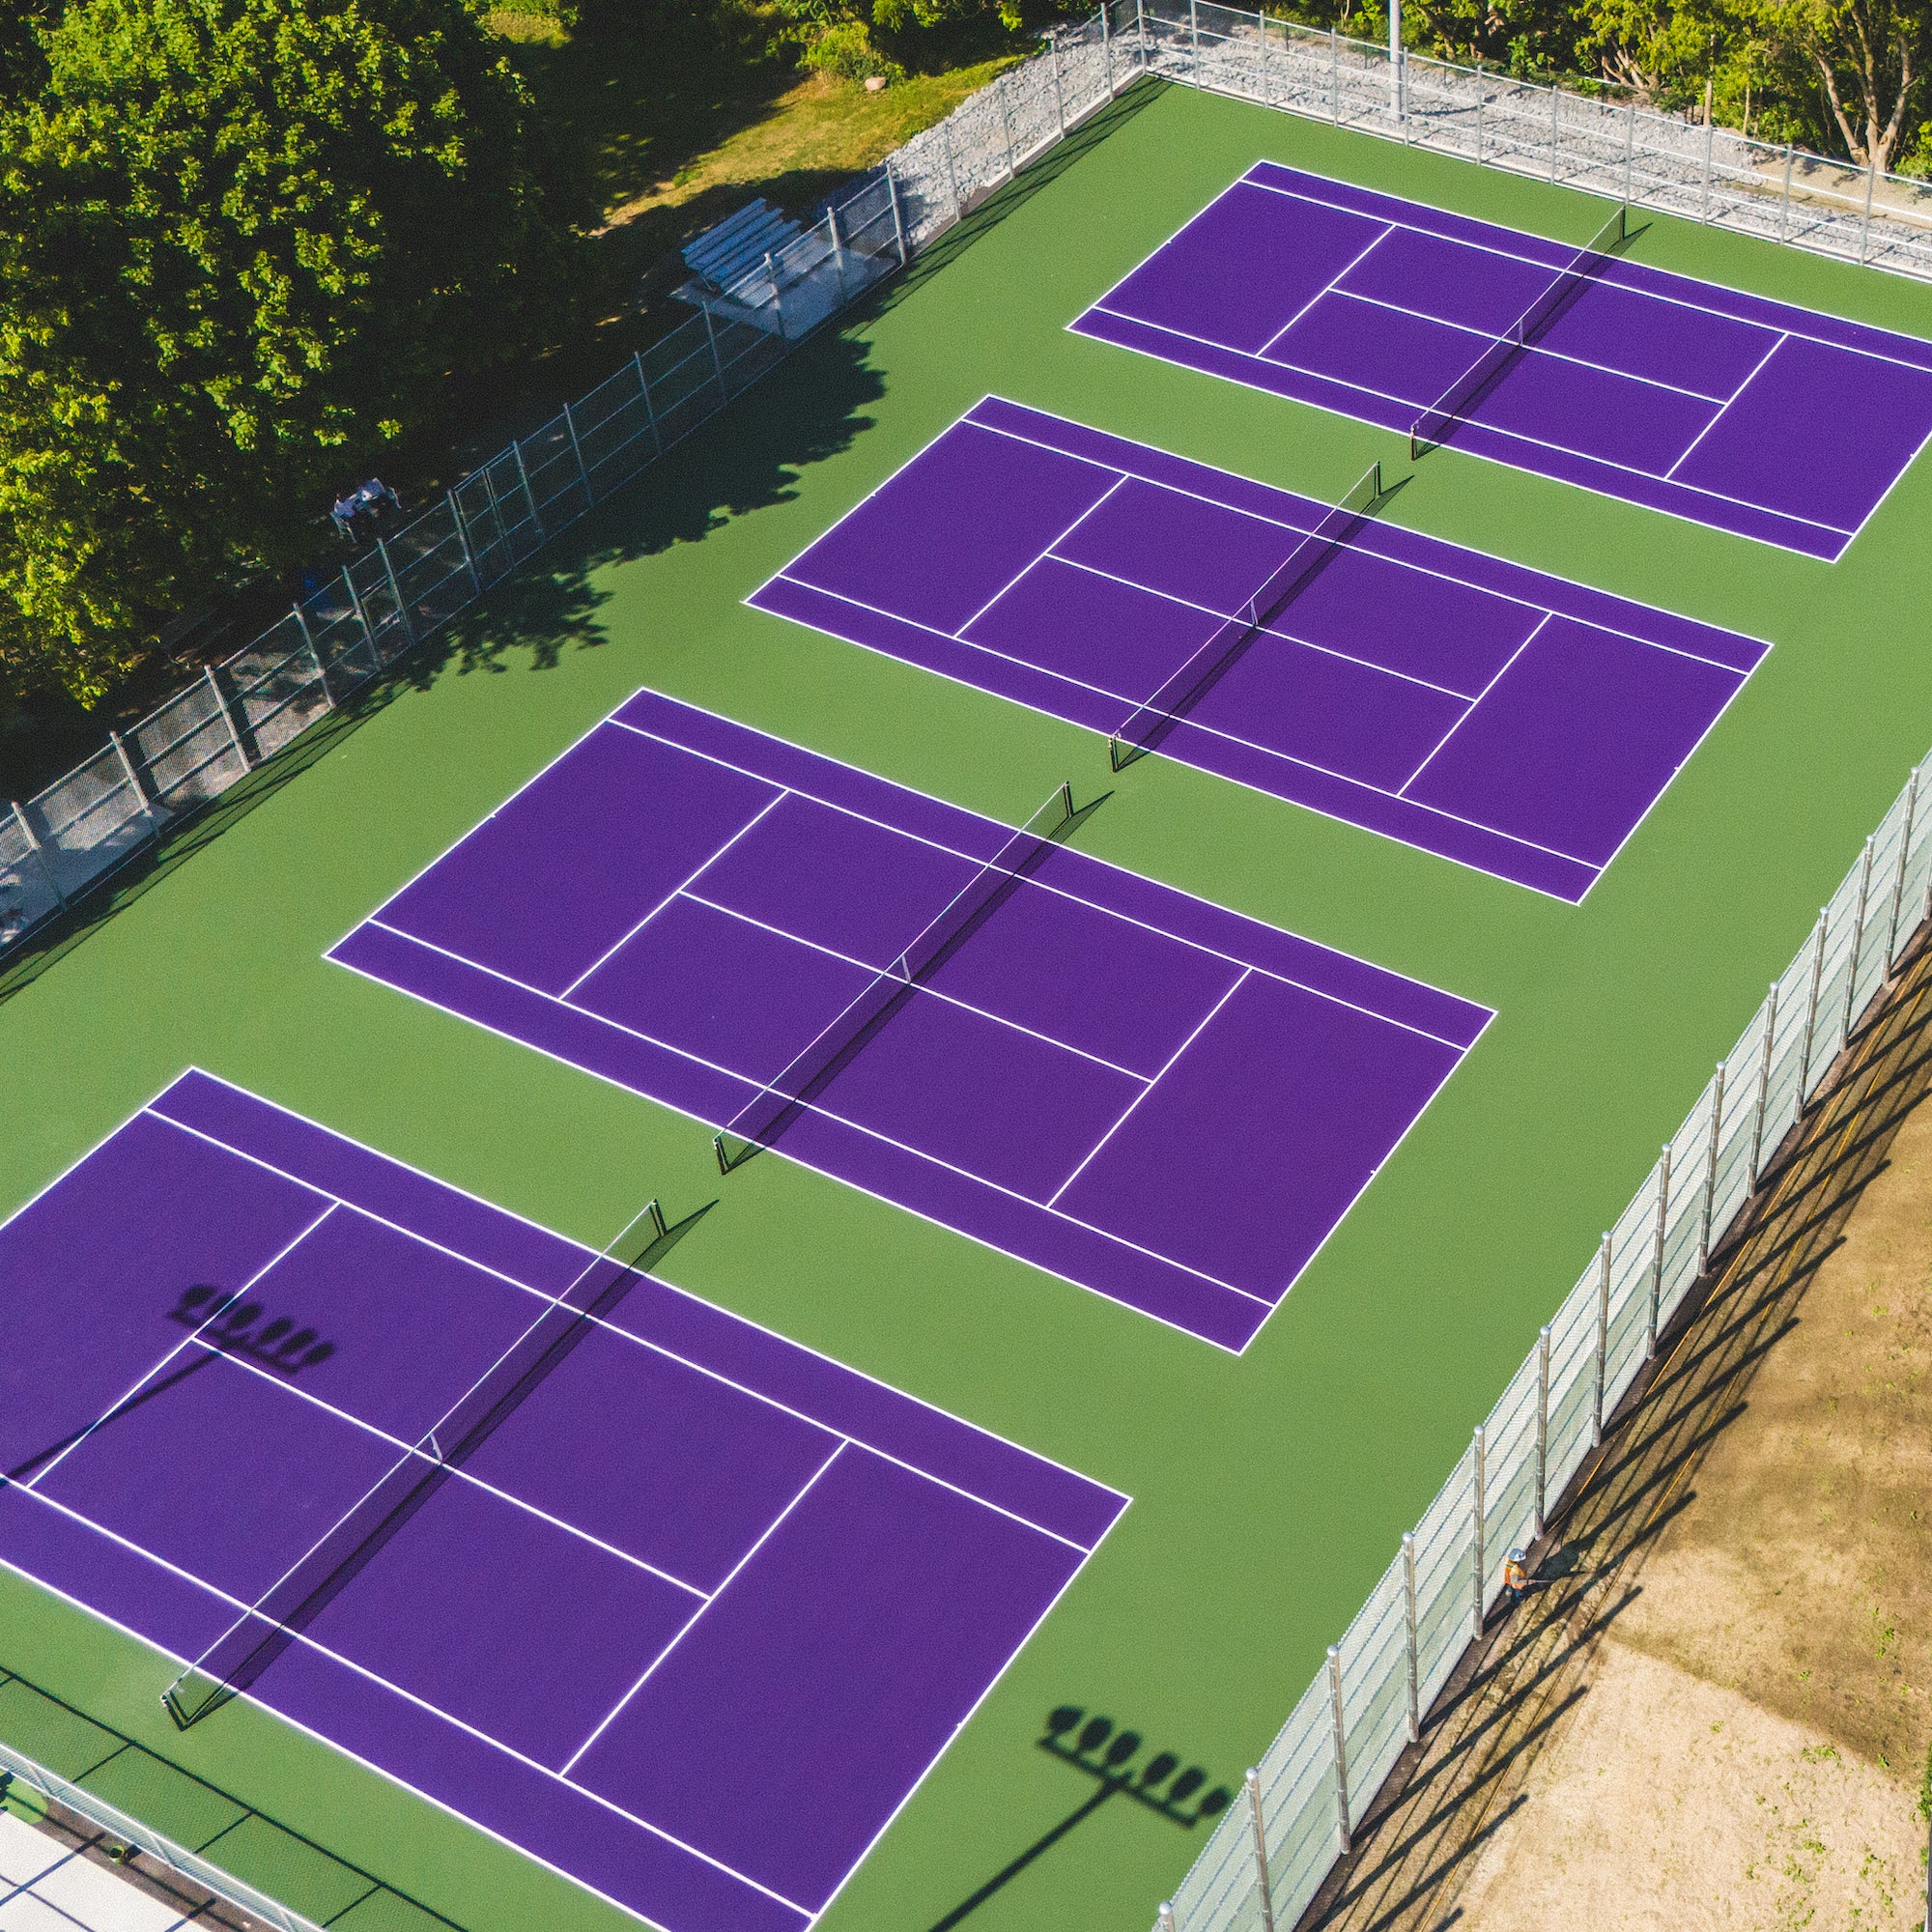
Do It Yourself Court Inspiration
Explore a finished court project and discover the materials used to bring it together. Click the highlighted areas to see the products that made this court come to life.

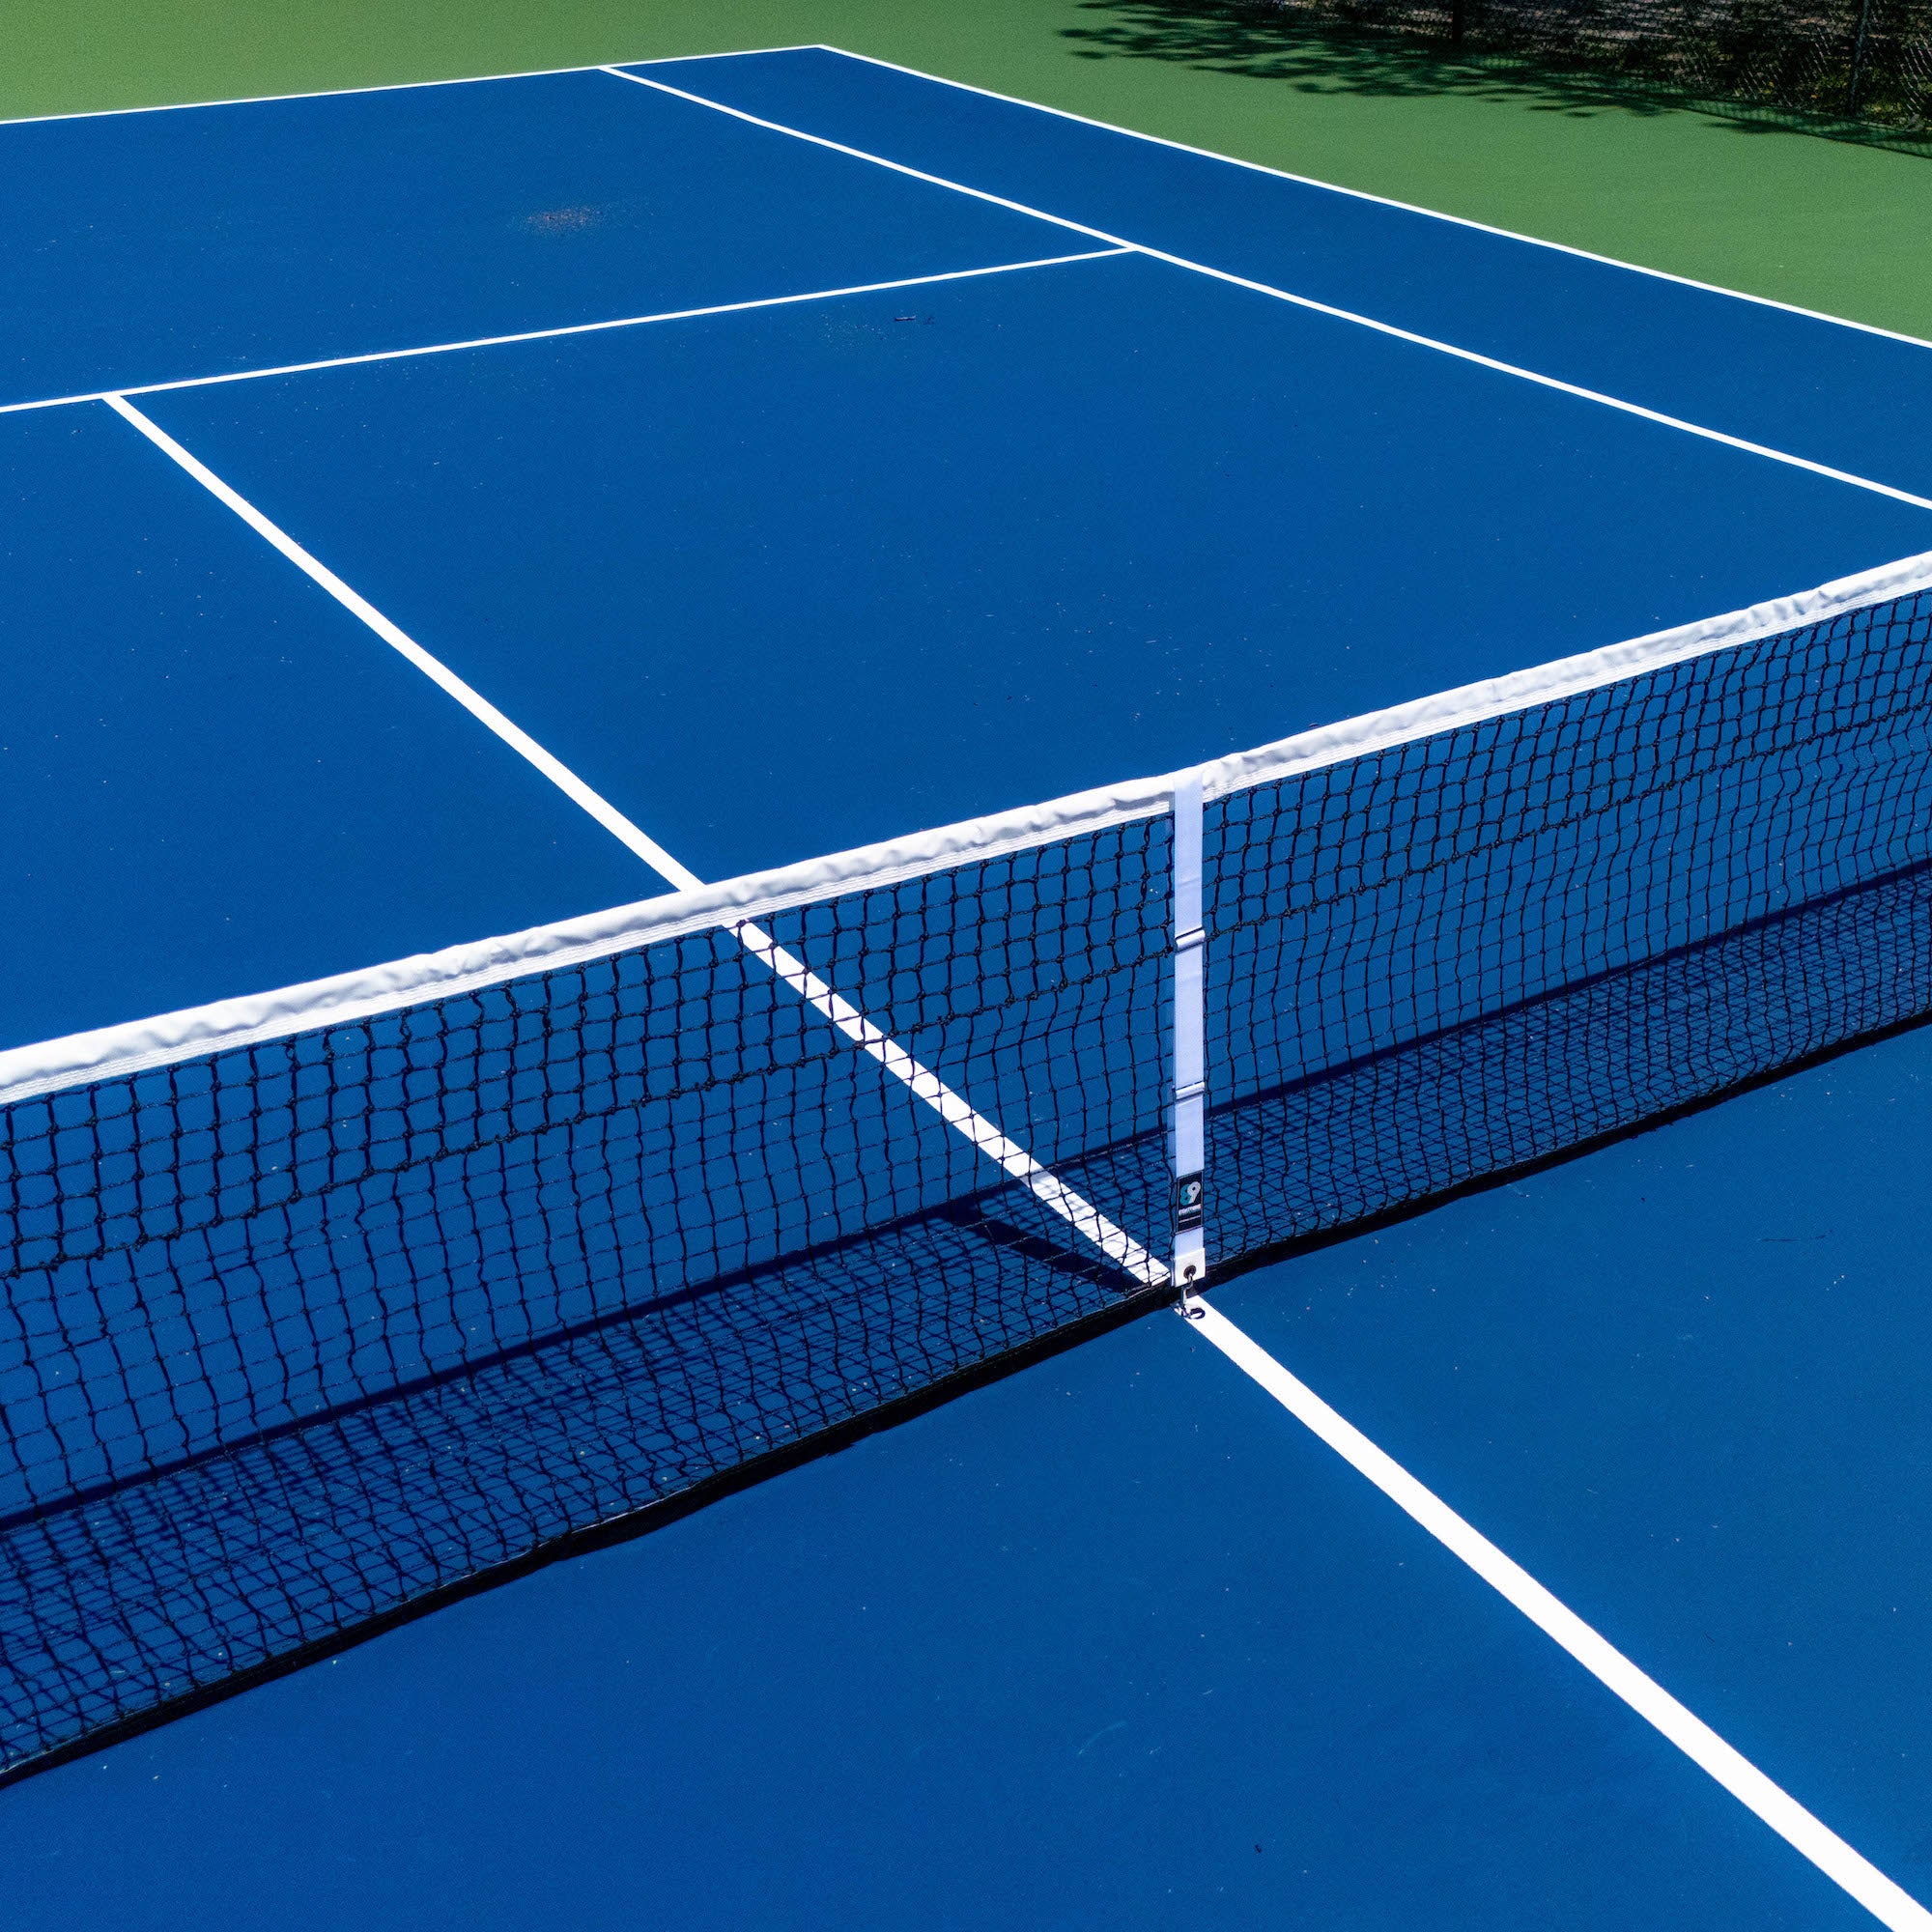

Laykold Advantage Colorcoat - Medium Green - Factory Textured


Laykold Advantage Colorcoat - Dark Blue - Factory Textured

Ready to get started?
Need help with your court project? Contact our team for advice on materials, layout, equipment, and everything you need to get started.